ป้ายกำกับ: DIY Nail Designs
Unlock Your Inner Artist: DIY Nail Designs You Can Actually Do
Have you ever looked at beautifully painted nails and wished you could recreate them at home? You’re not alone! Many people want to try their hand at DIY nail designs, but think it’s too complicated or requires special skills. But guess what? It’s totally doable!
This article will walk you through some simple and stunning DIY nail designs that you can master with a little practice and the right tools. Get ready to ditch the salon and embrace your inner nail artist!
Start with the Basics: What You’ll Need
Before diving into the fun part, you’ll need a few essential tools for your DIY nail art adventures. This is your starter kit, and with it, you can create many beautiful designs.
- Nail polish: You can choose from a wide range of colors and finishes, from classic reds to bold blues, metallics, and even glittery finishes.
- Base coat: This is a clear coat that protects your nails from the color of the polish.
- Top coat: This clear coat seals in the design and helps your nail polish last longer.
- Nail polish remover: This helps to remove any mistakes or to take off the polish when you want a fresh look.
- Cotton balls: These are great for applying nail polish remover or cleaning up any spills.
- Q-tips: These are handy for getting into tight corners and cleaning up any smudges.
- Toothpick: This can be used for cleaning up any mistakes or to create intricate designs.
- Striper brush: A thin brush used for drawing lines and details.
- Dotting tool: A tool with different sized ends that can be used to create dots or circles.
- Nail art tape: Adhesive tape that can be used to create straight lines or geometric shapes.
- Nail file and buffer: These tools will help you shape and smooth your nails before you start painting.
Easy DIY Nail Designs for Beginners
Now that you’ve got your supplies, let’s start with some easy designs perfect for beginners.
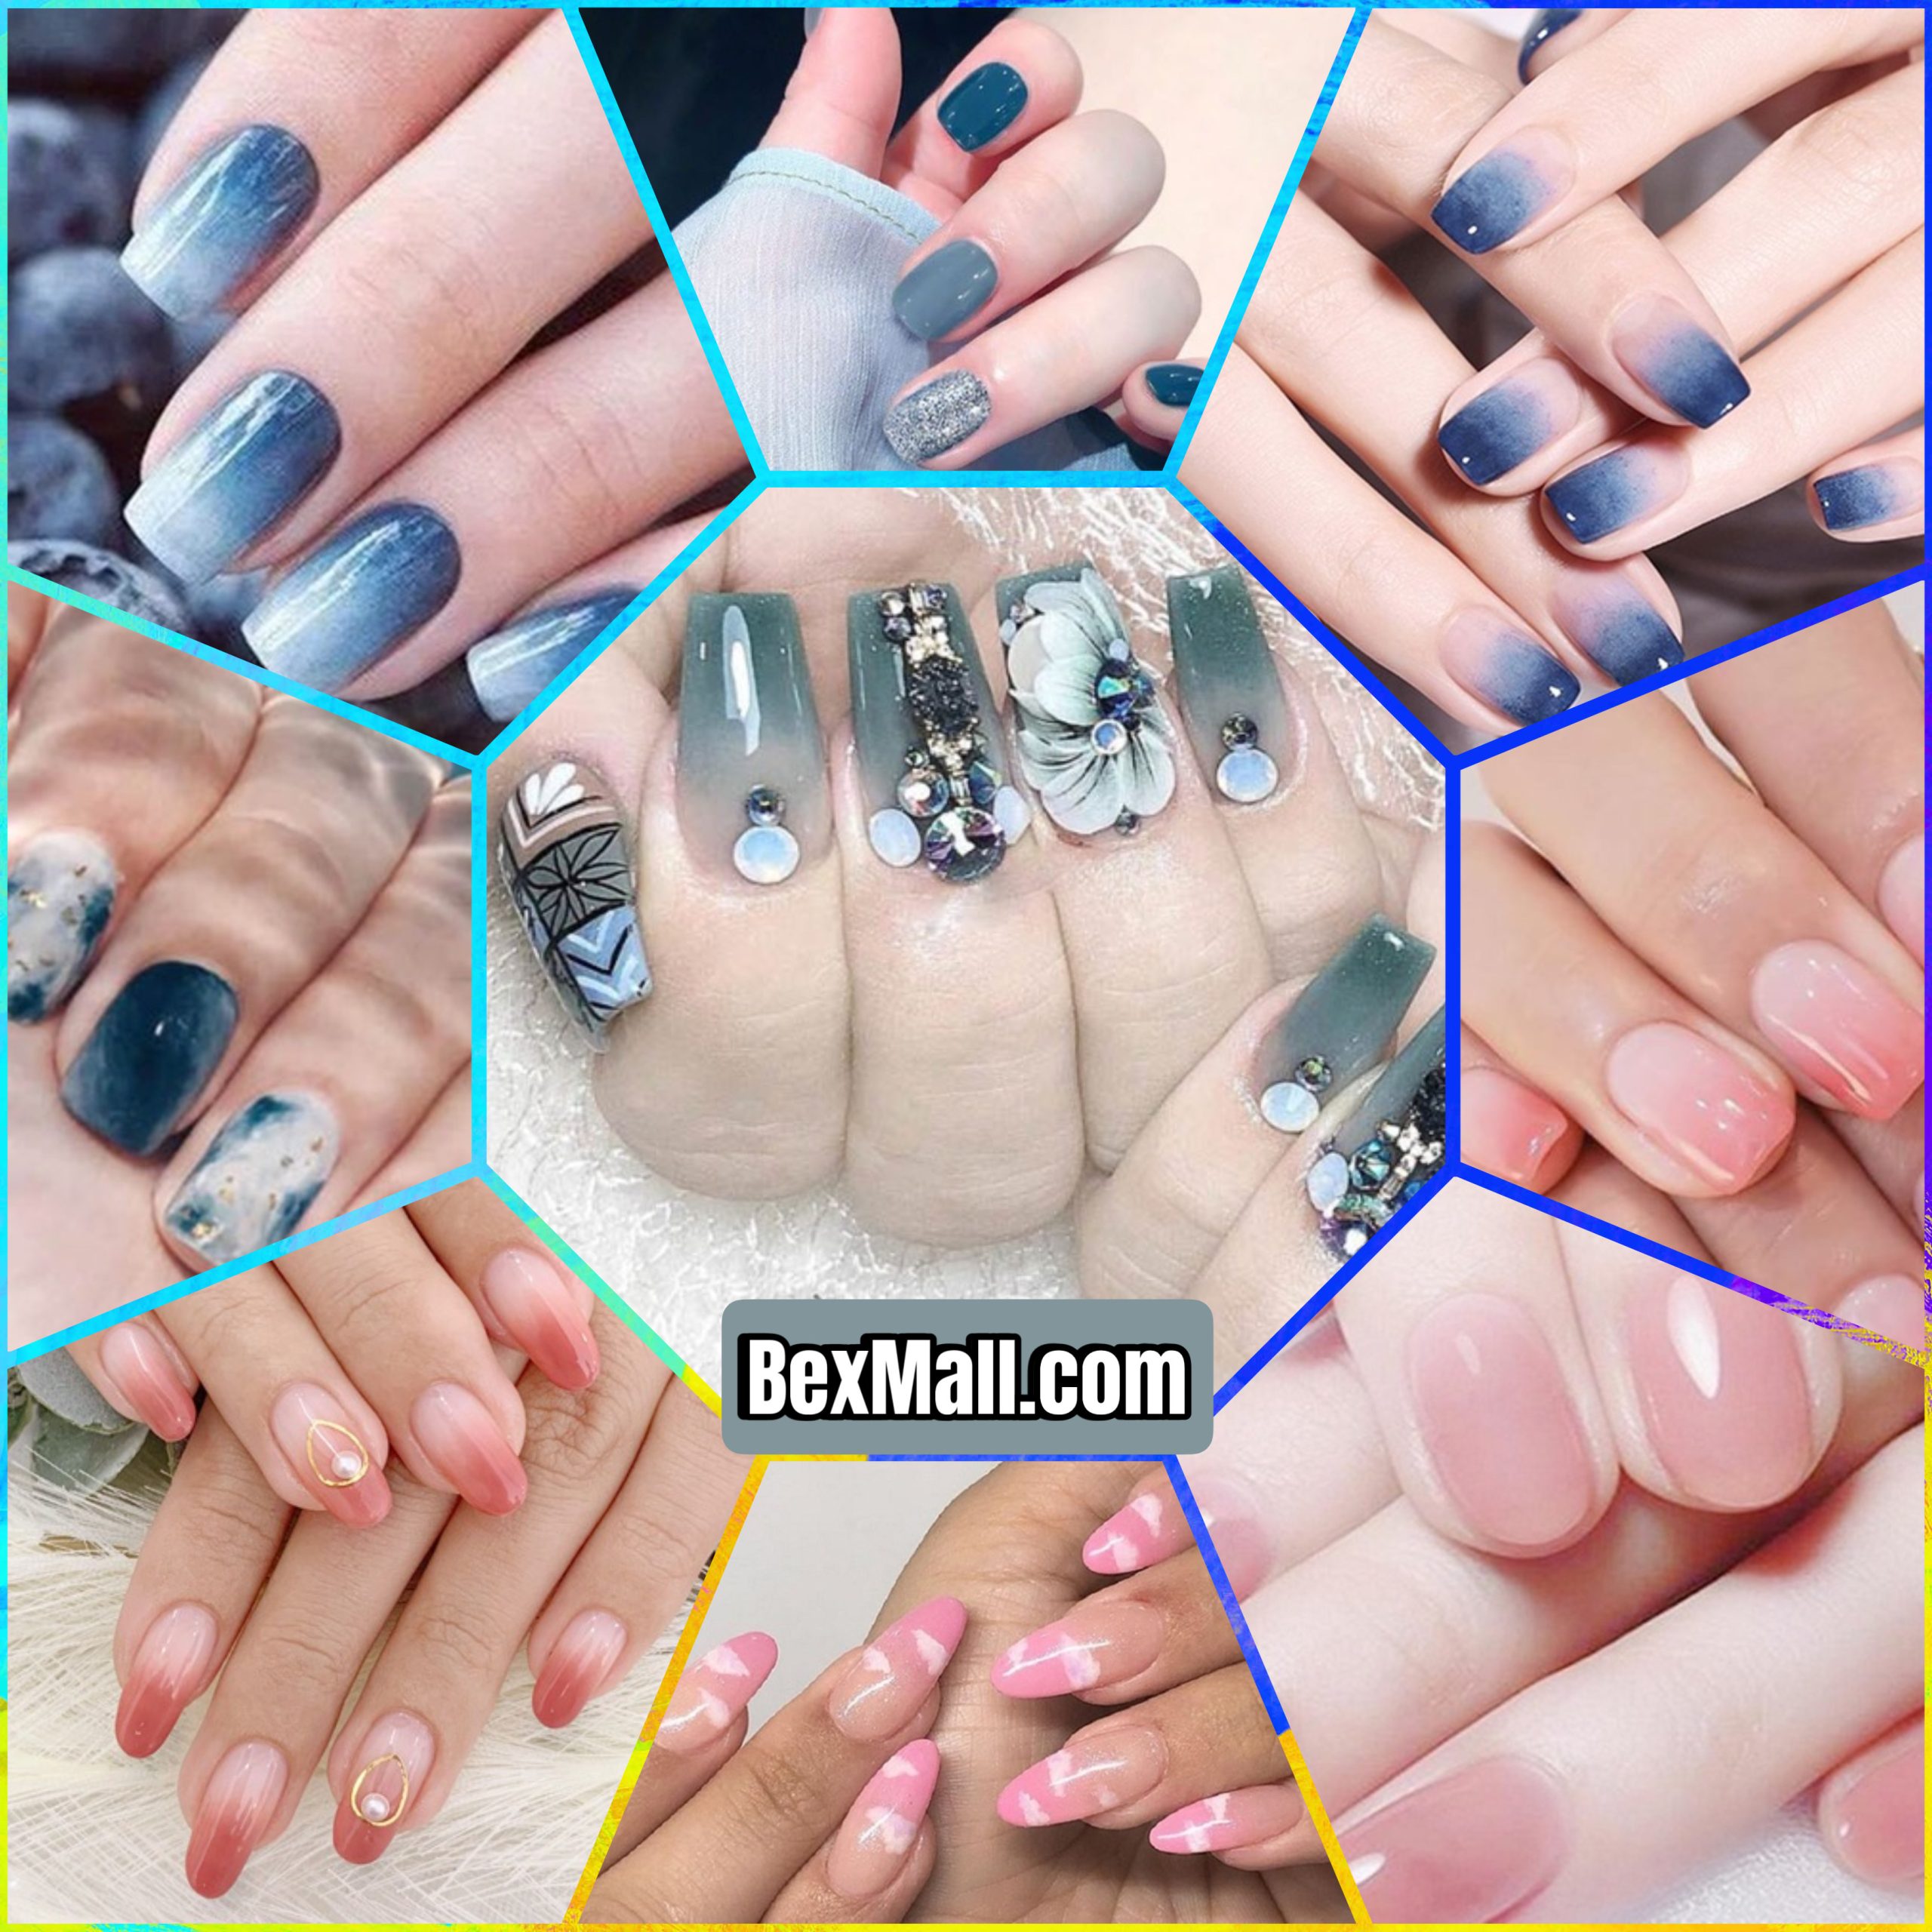
1. Ombre Nails
Ombre nails are a popular and stylish design that features a gradual transition from one color to another.
Here’s how to create an ombre look:
- Start with a base coat on all your nails.
- Choose two or three colors that blend well together.
- Apply the lightest color to the base of your nail.
- Apply the medium color to the middle of your nail, blending it into the lightest color.
- Apply the darkest color to the tip of your nail, blending it into the medium color.
- You can use a sponge or a brush to blend the colors together.
- Seal with a top coat.
2. Polka Dot Nails
Polka dots are a fun and playful design that can be created with a dotting tool or a toothpick.
Here’s how to create polka dot nails:
- Start with a base coat on all your nails.
- Choose two contrasting colors.
- Apply the base color to all your nails.
- Use a dotting tool or a toothpick to create dots of the second color on your nails.
- You can create small dots or large dots, depending on your preference.
- Seal with a top coat.
3. Striped Nails
Stripes are a classic nail design that can be created with nail art tape or a striper brush.
Here’s how to create striped nails:
- Start with a base coat on all your nails.
- Choose two contrasting colors.
- Apply the base color to all your nails.
- Use nail art tape to create straight lines or geometric shapes.
- Apply the second color over the tape.
- Carefully remove the tape while the polish is still wet.
- Seal with a top coat.
Tips for Perfect DIY Nail Designs
- Practice Makes Perfect: Like any art, nail art takes practice. Don’t get discouraged if your first attempt isn’t perfect.
- Clean Up Mistakes: If you make a mistake, use a Q-tip and nail polish remover to clean it up.
- Patience is Key: Take your time and don’t rush the process.
- Experiment with Different Designs: Don’t be afraid to experiment with different designs and colors.
Beyond the Basics: Adding Your Personal Touch
Once you feel comfortable with the basics, you can start experimenting with more complex designs and techniques.
- Negative Space Designs: This involves leaving parts of your nail bare, creating a unique and modern look.
- Metallic Accents: Add a touch of glam with metallic polishes or foil.
- Glitter and Gems: Add some sparkle and shine with glitter or nail gems.
With a little creativity and practice, you can achieve amazing results with DIY nail designs. Embrace your inner artist, and don’t be afraid to try new things!
Remember, the most important thing is to have fun and enjoy the process!
, ombre nails, nail art, DIY nail design, polka dot nails, striped nails
