ป้ายกำกับ: Gradient Nail Art
Gradient Nail Art: The Ultimate Guide to Ombre Nails
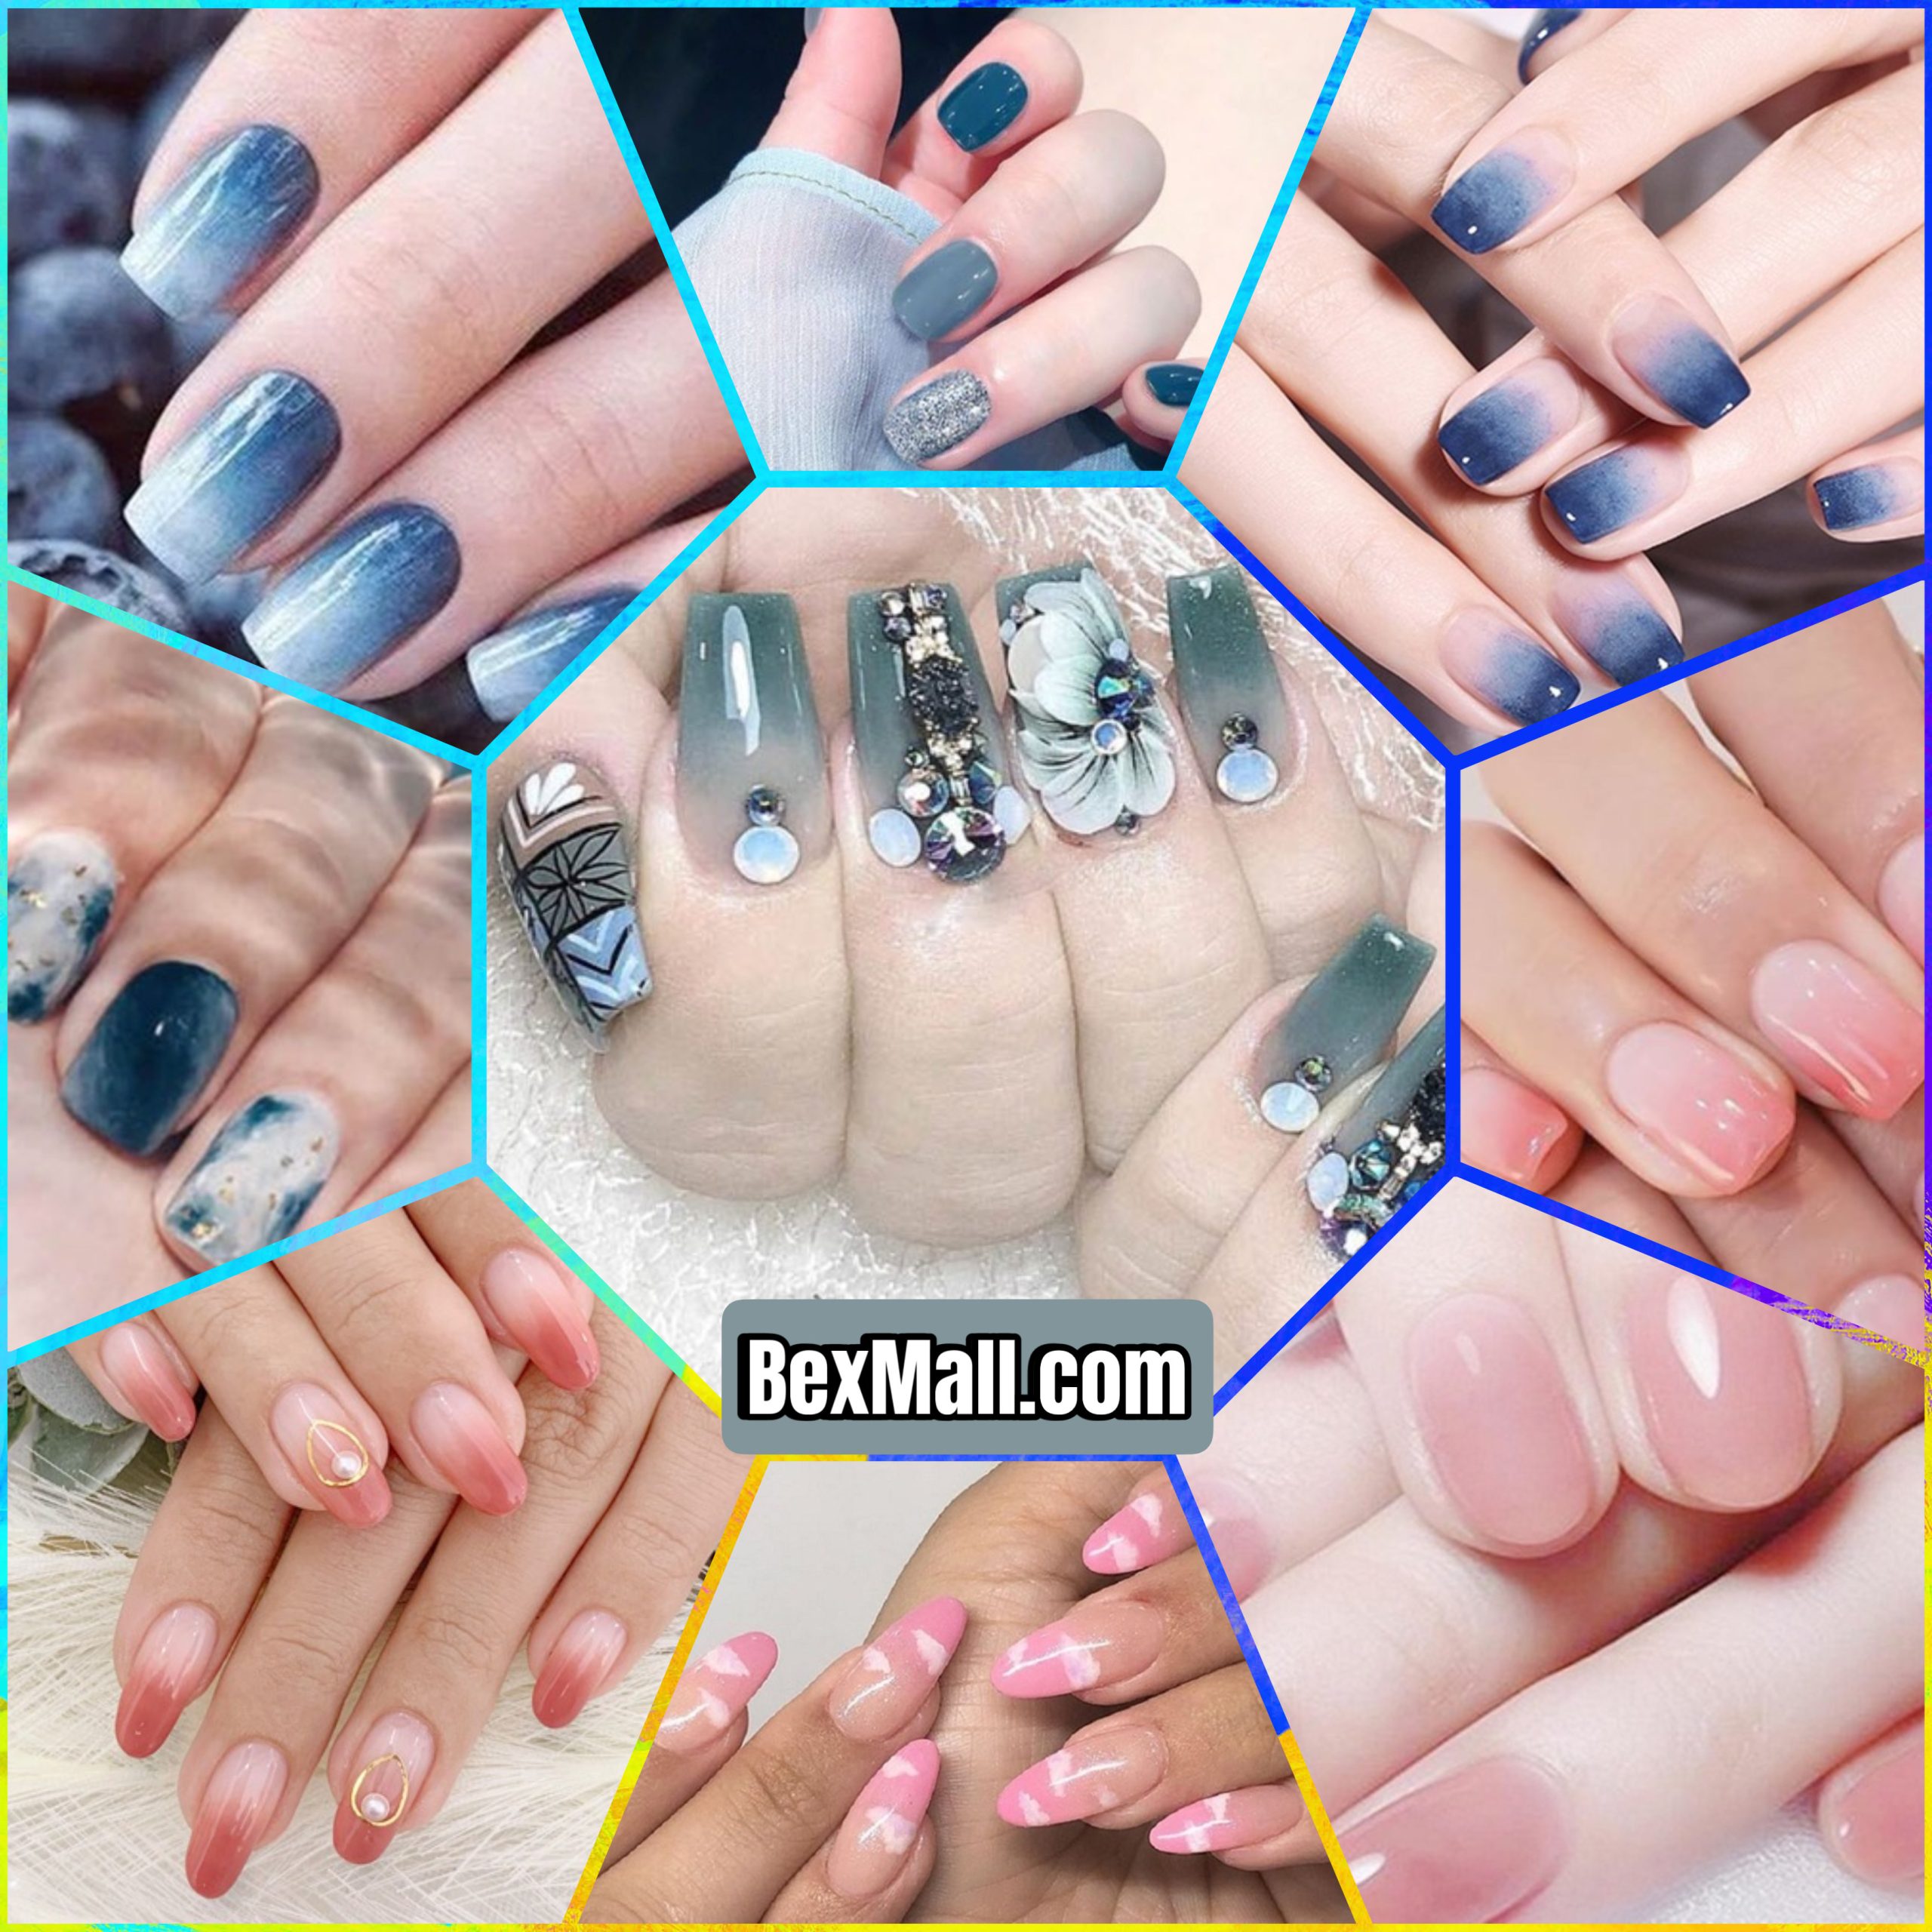
Have you ever seen those beautiful nails with colors that melt into each other, creating a smooth and dreamy look? That’s gradient nail art, also known as ombre nails. It’s a trend that’s been popular for years, and for good reason. Gradient nails are incredibly versatile, allowing you to express your creativity and style in a unique way.
But how do you actually achieve this stunning effect? Don’t worry, it’s not as complicated as it might seem. In this article, we’ll delve into the world of gradient nail art, exploring everything from the basics to advanced techniques, and providing you with all the tips and tricks you need to create your own ombre masterpiece.
What is Gradient Nail Art?
Gradient nail art, simply put, is a technique where you blend two or more nail polish colors to create a smooth transition from one to the other. This creates a beautiful, eye-catching effect that resembles a sunset or a rainbow.
Why Are Gradient Nails So Popular?
There are a few reasons why gradient nails are so popular:
- Versatility: Gradient nail art allows you to play with a wide range of colors and effects, creating unique looks that match your mood, outfit, or special occasion.
- Easy to Achieve: While some techniques might seem intimidating at first glance, the basic gradient nail art can be easily mastered with a little practice.
- Trendy and Chic: Gradient nails are undeniably trendy and stylish, giving your look a touch of sophistication and elegance.
Essential Supplies for Gradient Nail Art
Before you dive into creating your own gradient nails, you’ll need a few basic supplies:
- Base Coat: This protects your nails from the pigments in the polish and helps the color last longer.
- Nail Polishes: Choose two or more colors that complement each other.
- Sponge: A makeup sponge or a kitchen sponge works best for blending the colors.
- Top Coat: This seals in the color and provides a smooth, shiny finish.
- Nail Art Tools (Optional): This includes things like dotting tools, brushes, and stencils.
- Nail File: This is used to shape your nails before applying the polish.
- Cuticle Pusher: This helps push back the cuticles for a cleaner look.
Gradient Nail Art Techniques
There are several techniques you can use to create gradient nail art. Here are a few of the most popular:
1. Sponge Technique:
This is the most common and easiest method. It involves applying two or more nail polishes to a sponge and then pressing it onto your nails. The sponge will pick up the colors and blend them seamlessly.
Steps:
- Prepare your nails by filing and applying a base coat.
- Choose your nail polishes and apply a thin layer of the first color to your nails.
- Lightly dab a makeup sponge in the first color.
- Dab the sponge in the second color.
- Gently press the sponge onto your nails, starting at the base and working your way up.
- Repeat steps 4 and 5 with additional colors, if desired.
- Apply a top coat for a smooth finish.
2. Brush Technique:
The brush technique involves using a thin brush to blend the colors. This method requires a bit more practice but can create a more defined and controlled gradient.
Steps:
- Prepare your nails with a base coat.
- Apply a thin layer of the first color to your nails.
- Dip a thin brush into the second color and gently blend it into the first color, starting at the base and working your way up.
- Repeat step 3 with additional colors, if desired.
- Apply a top coat.
3. Gradient Tape Technique:
This technique involves using tape to create sharp lines and a more defined gradient.
Steps:
- Prepare your nails with a base coat.
- Apply the first color to your nails.
- Using tape, create a line where you want the color to transition.
- Apply the second color on the other side of the tape.
- Carefully remove the tape and apply a top coat.
Tips for Perfect Gradient Nail Art:
- Practice Makes Perfect: It takes a little practice to perfect gradient nail art.
- Start with Thin Layers: Applying thin layers of polish is key to achieving a smooth gradient.
- Don’t Overblend: Too much blending can create muddy or uneven results.
- Use Quality Products: Choose high-quality nail polishes that blend well.
- Clean Up Any Mistakes: Use a cotton swab dipped in nail polish remover to clean up any mistakes.
Conclusion:
Gradient nail art is a fun and creative way to add a touch of style to your look. With a little practice, you can create stunning, unique designs that are sure to turn heads. Whether you’re a beginner or an experienced nail artist, there are endless possibilities to explore with gradient nail art.
So what are you waiting for? Grab your supplies and start experimenting!
Secondary Keywords: ombre nail designs, ombre nail ideas, ombre nails tutorial, ombre nail colors, ombre nails for short nails.