ป้ายกำกับ: Ombre Nail Art
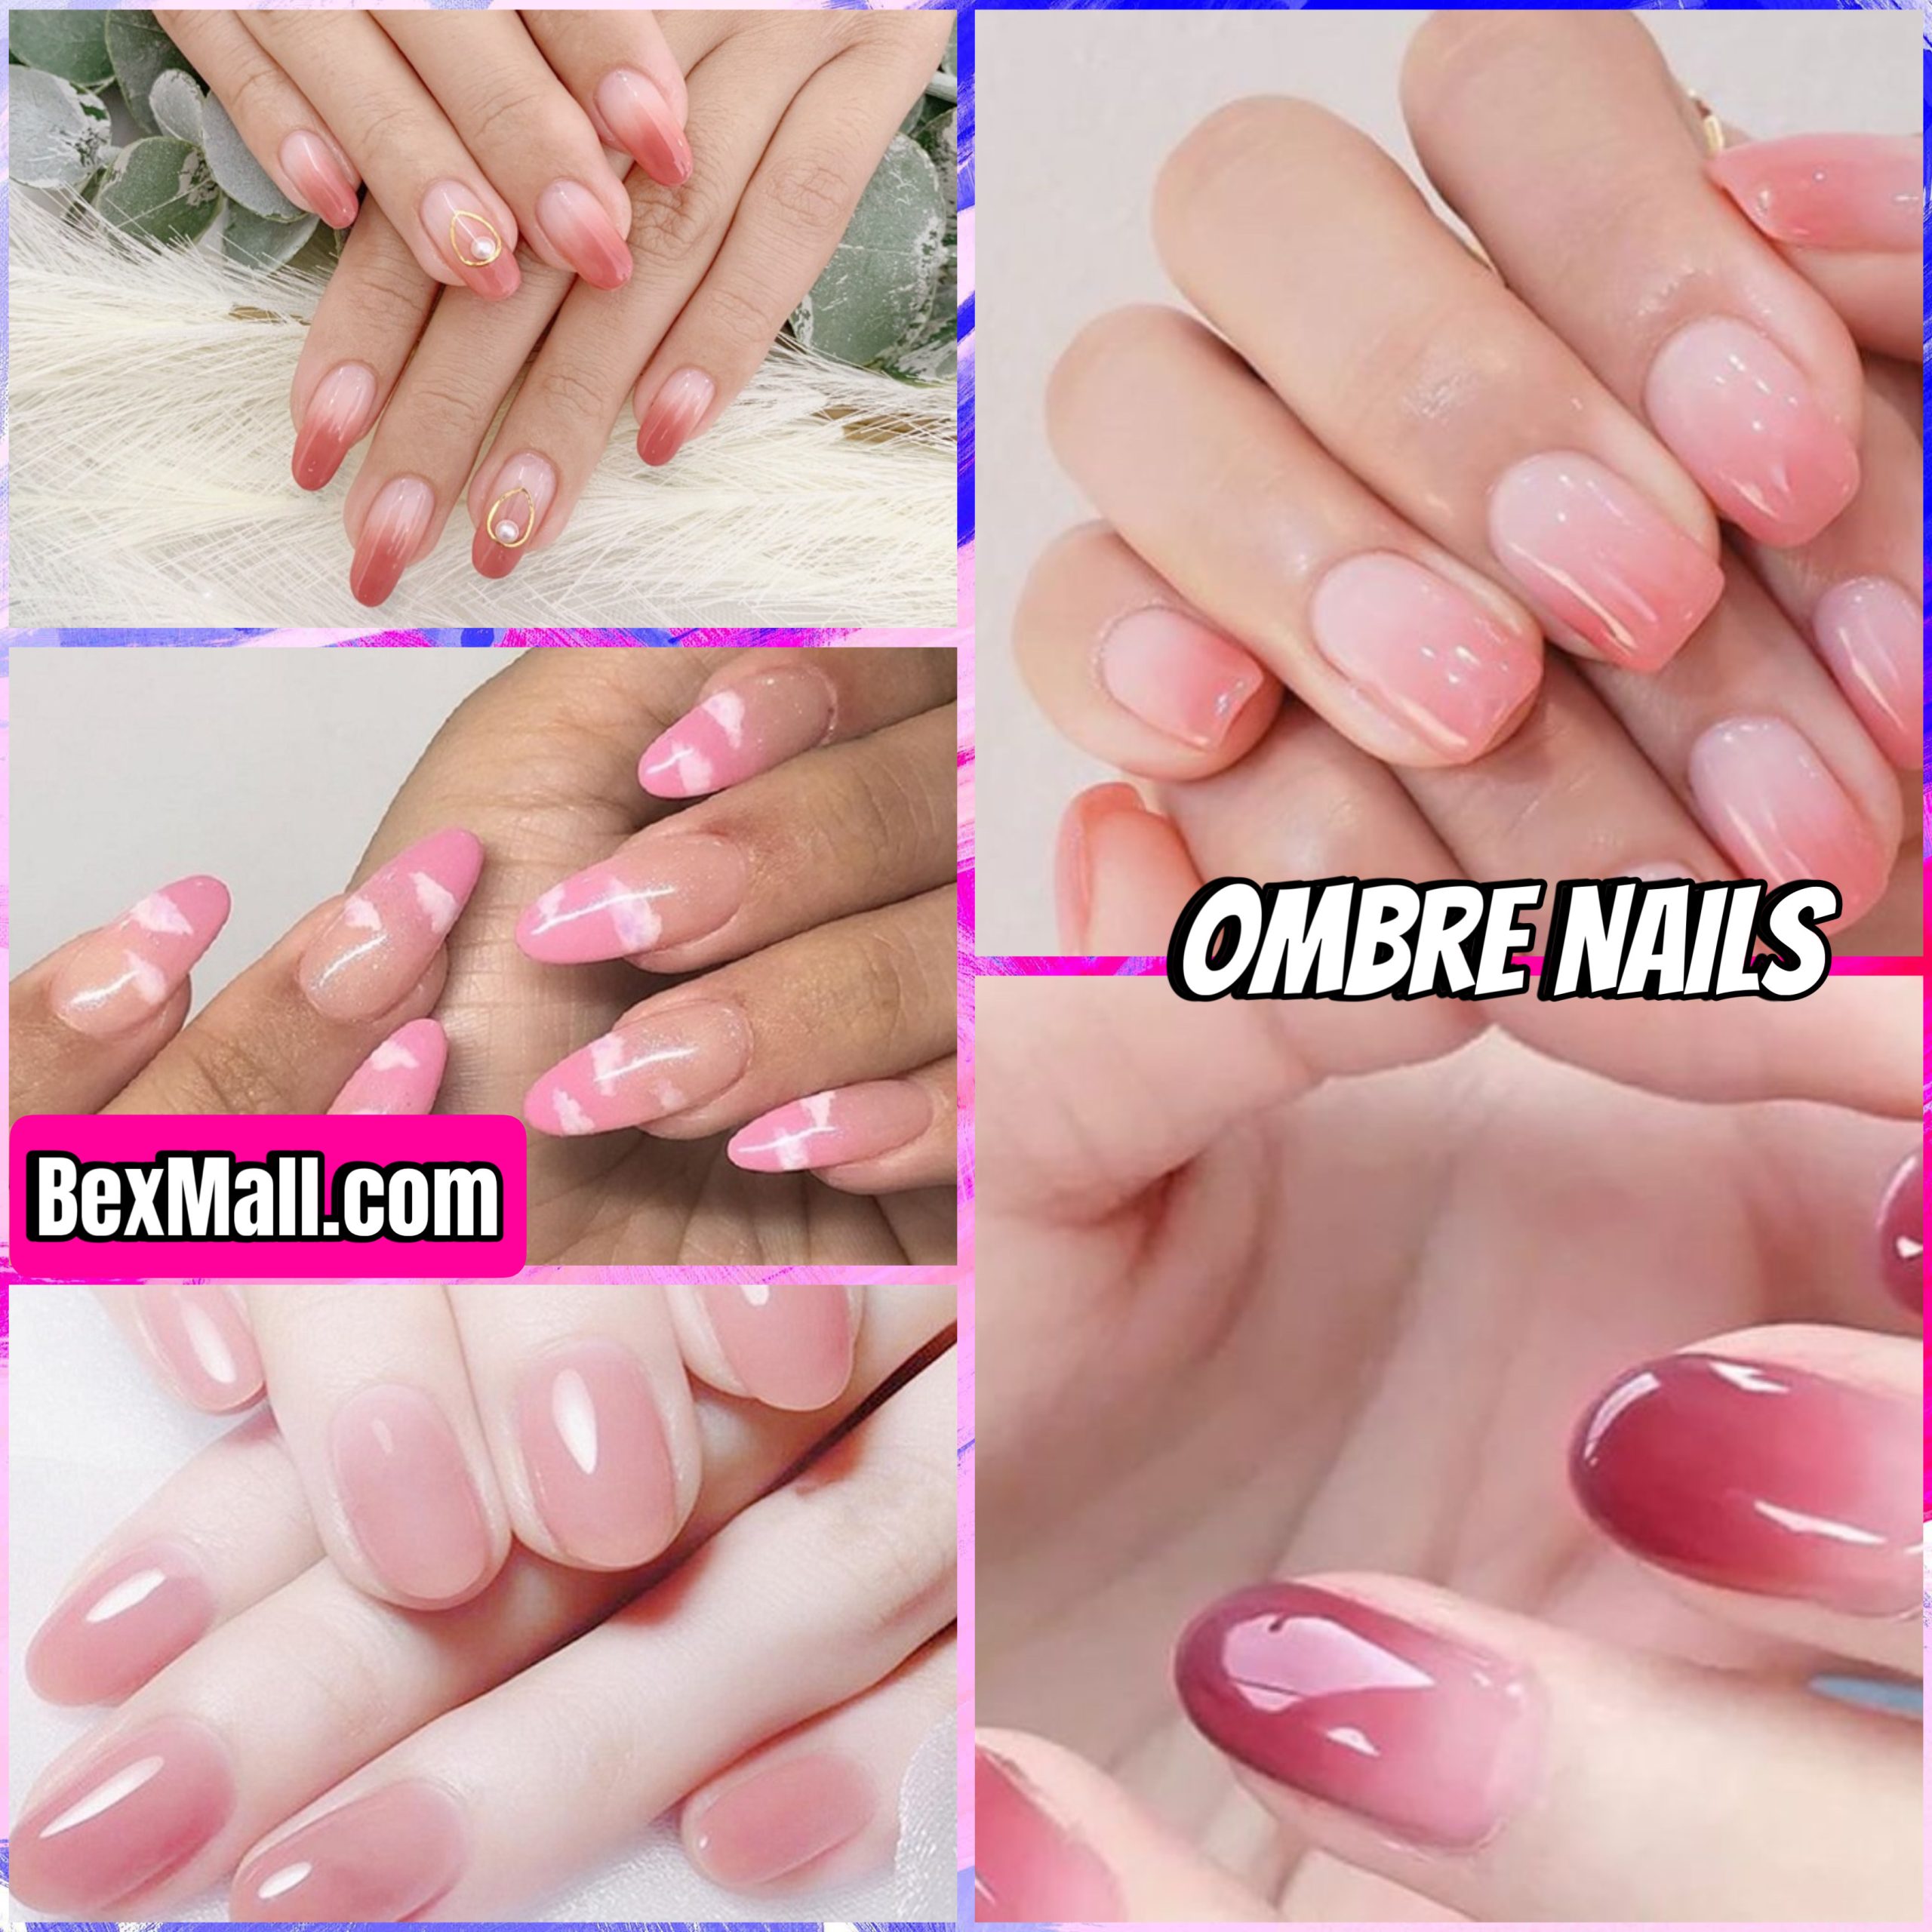
Ombre Nail Art: The Ultimate Guide to Gradual Glam
Have you ever looked at a beautiful sunset and wished you could wear it on your nails? Well, now you can! Ombre nail art lets you create a stunning gradient effect that’s perfect for any occasion, from casual days to fancy parties.
But what exactly is ombre nail art? And how do you achieve those smooth, dreamy transitions?
Don’t worry, we’re about to dive deep into the world of ombre nails, uncovering all the secrets to creating your own masterpiece. Get ready to be inspired, because we’re about to unveil a whole rainbow of possibilities!
What is Ombre Nail Art?
Ombre nail art is a technique that involves blending two or more colors together to create a gradual, seamless transition. Think of it like a sunset, where one color fades into another. The effect can be subtle and elegant, or bold and dramatic, depending on your personal style and the colors you choose.
Why Choose Ombre Nail Art?
Ombre nail art is incredibly versatile! Here are a few reasons why it’s become a popular choice:
- Trendy: Ombre nails are always on-trend, whether you’re going for a classic look or something edgy and unique.
- Flattering: Ombre can make your nails look longer and more elegant.
- Easy to customize: There are endless possibilities when it comes to color combinations and effects.
- Perfect for any occasion: Ombre nails are appropriate for everything from casual outings to special events.
How to Achieve the Perfect Ombre Look: A Step-by-Step Guide
Ready to try your hand at ombre nail art? Here’s what you’ll need:
- Nail polish: Choose two or more colors that you want to blend together.
- Base coat: This protects your nails and helps the polish adhere better.
- Top coat: This seals in the color and adds shine.
- Sponge: A makeup sponge is perfect for blending colors.
- Q-tips: Use these to clean up any mistakes.
Now, let’s get started:
- Prepare your nails: Start by cleaning your nails and applying a base coat.
- Choose your colors: Select two or more colors that you want to blend. Consider using similar shades for a subtle look, or contrasting colors for a more dramatic effect.
- Apply the colors: Using a brush, paint stripes of color onto a piece of paper or a plate. Start with the darkest color at the bottom and work your way up to the lightest color.
- Blend the colors: Lightly dab a makeup sponge onto the stripes of color and transfer it onto your nails. Start at the base and blend upwards.
- Clean up any mistakes: Use a Q-tip dipped in nail polish remover to clean up any messy edges.
- Seal with top coat: Apply a top coat to seal in the color and add shine.
Ombre Nail Art Inspiration: Ideas for Every Style
Feeling overwhelmed with all the possibilities? Don’t worry! Here are some ombre nail art ideas to get you started:
Classic Ombre: Embrace the simple beauty of a two-color gradient. Try black and white, navy and teal, or rose gold and pink.
Glitter Ombre: Add a touch of sparkle by incorporating glitter into your design. Start with a base of a solid color and blend in glitter towards the tips for a glamorous look.
Neon Ombre: Get ready to shine with a vibrant neon ombré. Combine colors like pink and orange, green and yellow, or blue and purple for a playful and eye-catching look.
Metallic Ombre: Add some sophistication with metallic colors. Blend gold and silver, rose gold and copper, or even bronze and black for a luxurious finish.
Seasonal Ombre: Embrace the season with colorful ombre designs. For spring, try a pastel ombre like pink and lavender. In the summer, go bold with a rainbow ombre. In the fall, try earthy tones like brown, orange, and gold. And for winter, embrace the cold with a frosty blue and white ombre.
Ombre Nail Art for Special Occasions
Want to make your ombre nails even more special? Consider incorporating these elements for a memorable look:
- Glitter: A little sparkle goes a long way! Add some glitter to the tips of your nails for a touch of glamour.
- Gems: Small rhinestones can elevate your ombre design. Use them to create accents or patterns on your nails.
- Floral accents: Add delicate flower details to your ombre nails for a romantic and feminine touch.
- Negative space: Create a unique and modern look by incorporating negative space into your ombre design. Leave a small portion of your nail bare, creating a frame for the ombre effect.
Tips for Ombre Nail Art Success
- Practice makes perfect: Ombre nail art can take some practice to perfect. Don’t get discouraged if your first attempt isn’t perfect. Just keep practicing and you’ll get better with each try.
- Use a good quality sponge: A sponge that is too porous will soak up too much polish, making it difficult to blend. Choose a firm sponge with fine pores.
- Be patient: Allow each coat of polish to dry completely before applying the next. This will prevent the colors from smudging.
- Have fun!: Ombre nail art is all about experimenting and having fun. Don’t be afraid to try different color combinations and techniques.
Ready to dive into the world of ombre nails? Get your supplies together and start creating your own masterpieces!
Secondary keywords: ombre nails, ombre nail design, ombre nail ideas, gradient nail art, ombre nail trends