ป้ายกำกับ: Ombre Nail Design
The Ultimate Guide to Ombre Nail Design: Stunning Color Transitions for 2024
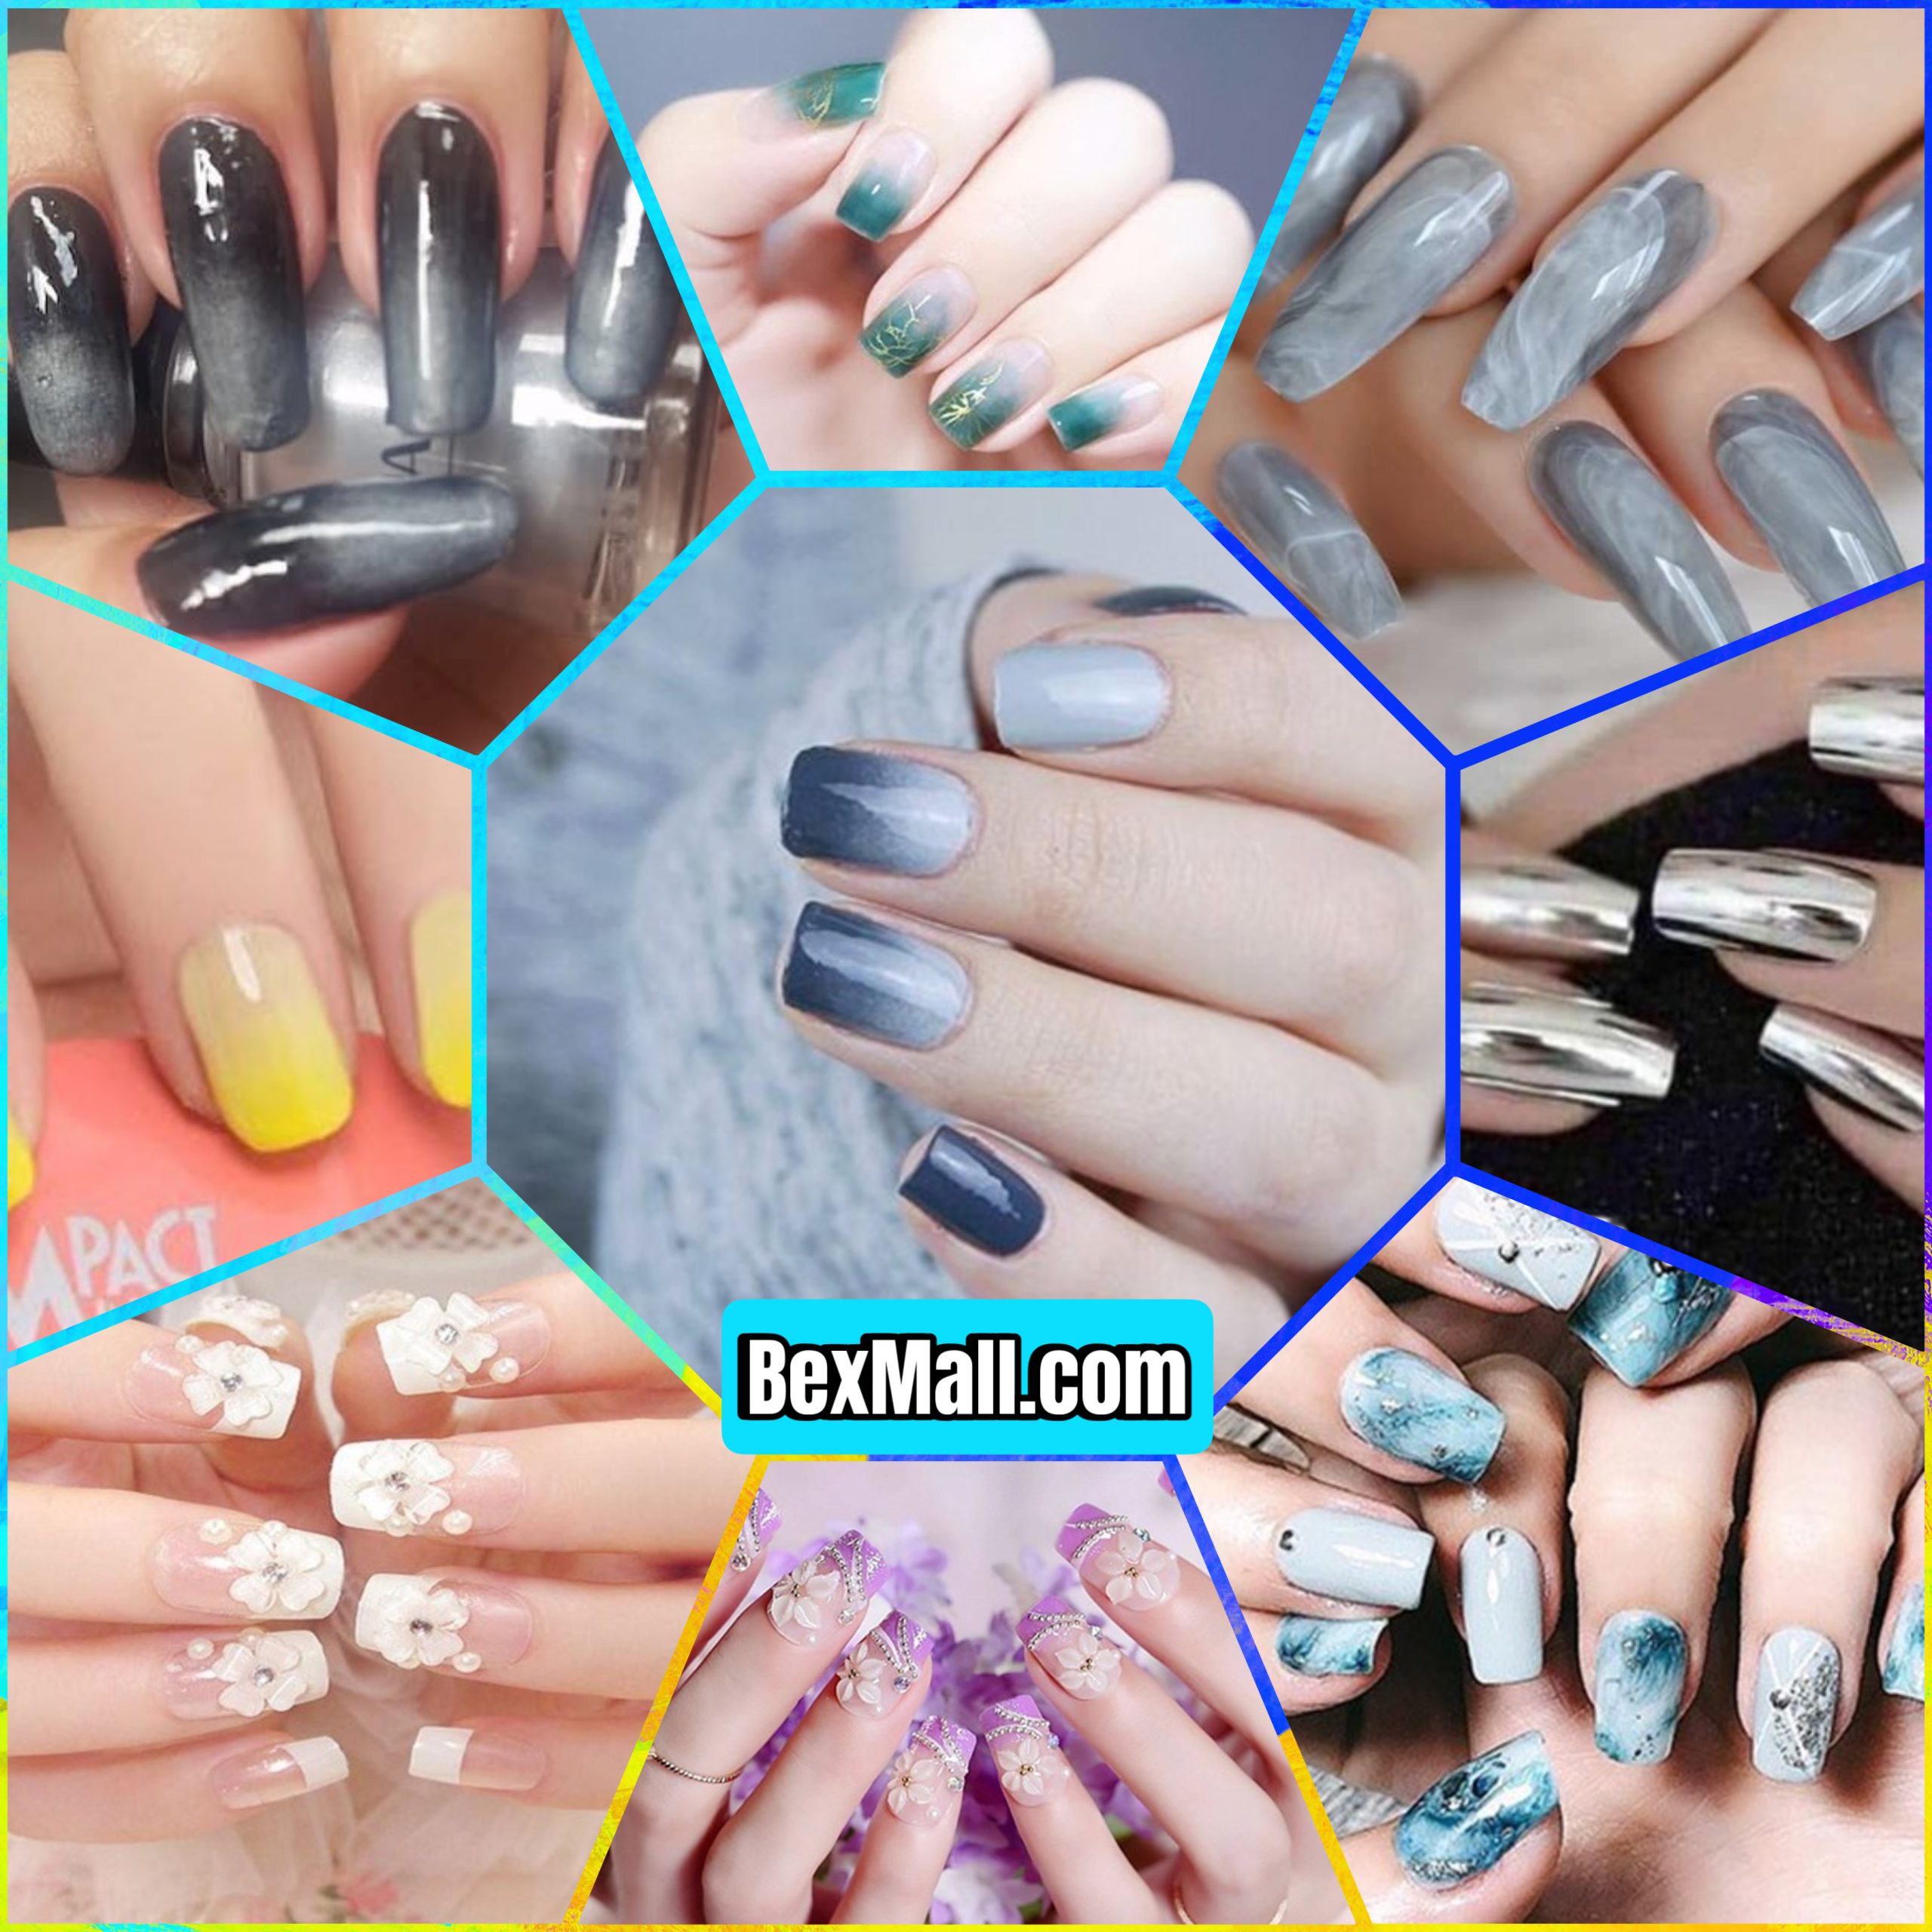
Have you ever gazed at a beautiful sunset and wished you could capture those mesmerizing color gradients on your nails? Well, you can! Ombre nail design is all about creating seamless transitions between colors, adding depth and dimension to your manicure. From subtle hues to bold contrasts, the possibilities are endless!
In this comprehensive guide, we’ll dive into the world of ombre nail design, exploring everything from the basics to the latest trends. You’ll learn the techniques, discover inspiring color combinations, and find the perfect ombre style to match your personality.
Understanding the Basics of Ombre Nail Design
Ombre nail design involves blending two or more colors together to create a gradual transition. This effect can be achieved using various methods, including sponges, brushes, or even nail art tools. The key is to create a smooth, natural-looking blend that catches the eye.
Types of Ombre Nail Design
There are countless ways to create ombre nail art, each with its unique charm. Here are some popular styles to spark your creativity:
- Classic Ombre: The classic ombre look starts with a darker shade at the base of the nail and gradually fades into a lighter shade towards the tip. This technique is perfect for creating a sophisticated and elegant look.
- Reverse Ombre: Instead of starting with a darker shade at the base, the reverse ombre starts with a lighter shade and transitions to a darker shade at the tip. This style can add a touch of drama and intrigue to your manicure.
- Horizontal Ombre: With horizontal ombre, the color transition occurs horizontally across the nail, creating a stunning stripe effect. This is a great way to incorporate multiple colors and create a bold statement.
- Vertical Ombre: Similar to horizontal ombre, vertical ombre creates a gradual color transition vertically on the nail, often resulting in a unique and modern look.
- Glitter Ombre: Add a touch of sparkle to your ombre design by incorporating glitter! You can either blend glitter into the color transition or use it as a top coat to create a dazzling effect.
Choosing the Right Colors for Your Ombre Nail Design
The beauty of ombre nail design lies in its versatility. You can create stunning combinations using any color palette that you love. Here are some tips for selecting the perfect color combination:
- Consider your skin tone: Cool skin tones tend to look best with cool colors like blues, greens, and purples, while warm skin tones often complement warm colors like reds, oranges, and yellows.
- Choose contrasting shades: For a dramatic and eye-catching effect, choose colors that are opposite each other on the color wheel. For example, pairing blue with orange or purple with yellow.
- Embrace complementary colors: If you prefer a softer look, choose colors that are next to each other on the color wheel. For example, pairing green with blue or purple with pink.
- Don’t be afraid to experiment: The best way to find your favorite ombre combinations is to try different colors and see what you like!
Ombre Nail Design: Trending Colors for 2024
Stay on trend with these popular color combinations for your ombre nail design in 2024:
- Deep Blues and Metallic Accents: Create a celestial look with deep blues and shimmering metallic accents, like silver or gold.
- Warm Neutrals with pops of Color: Soft neutrals like beige or blush, paired with vibrant pops of color like emerald green or deep burgundy, create a beautiful balance between sophistication and playfulness.
- Bold Pastels: Embrace the sweetness of spring with vibrant pastel shades like lavender, pink, and mint green.
- Nature-Inspired Tones: Get inspired by nature with warm earthy tones like brown, terracotta, and forest green.
Tips for Creating Perfect Ombre Nails at Home
Creating a beautiful ombre nail design at home is easier than you might think! Here’s a simple step-by-step guide:
- Prepare your nails: Start with clean and well-shaped nails. Apply a base coat to protect your nails and enhance the longevity of your manicure.
- Choose your colors: Select two or three colors that complement each other.
- Apply the base color: Apply a thin coat of your lightest color to all nails.
- Prepare your sponge: Dip the sponge into your darkest color. Use a dabbing motion to blend the color onto a small area of the sponge, creating a gradient from dark to light.
- Create the ombre effect: Lightly dab the sponge onto the tips of your nails, blending the dark color into the light base color. Repeat this process until you achieve the desired level of color transition.
- Apply a top coat: Seal your ombre design with a top coat to protect it and give it a glossy finish.
Pro Tip: For a smoother transition, use a blending brush to blend the color edges together after applying the sponge.
Conclusion
Ombre nail design offers endless creative possibilities for showcasing your unique style. Experiment with different colors, techniques, and trends to discover your signature ombre look! With a little practice, you can create stunning and personalized nail art that will turn heads.
Ombre Nail Design, Ombre Nail Art, Nail Design Trends 2024, How to do Ombre Nails, Ombre Nail Colors