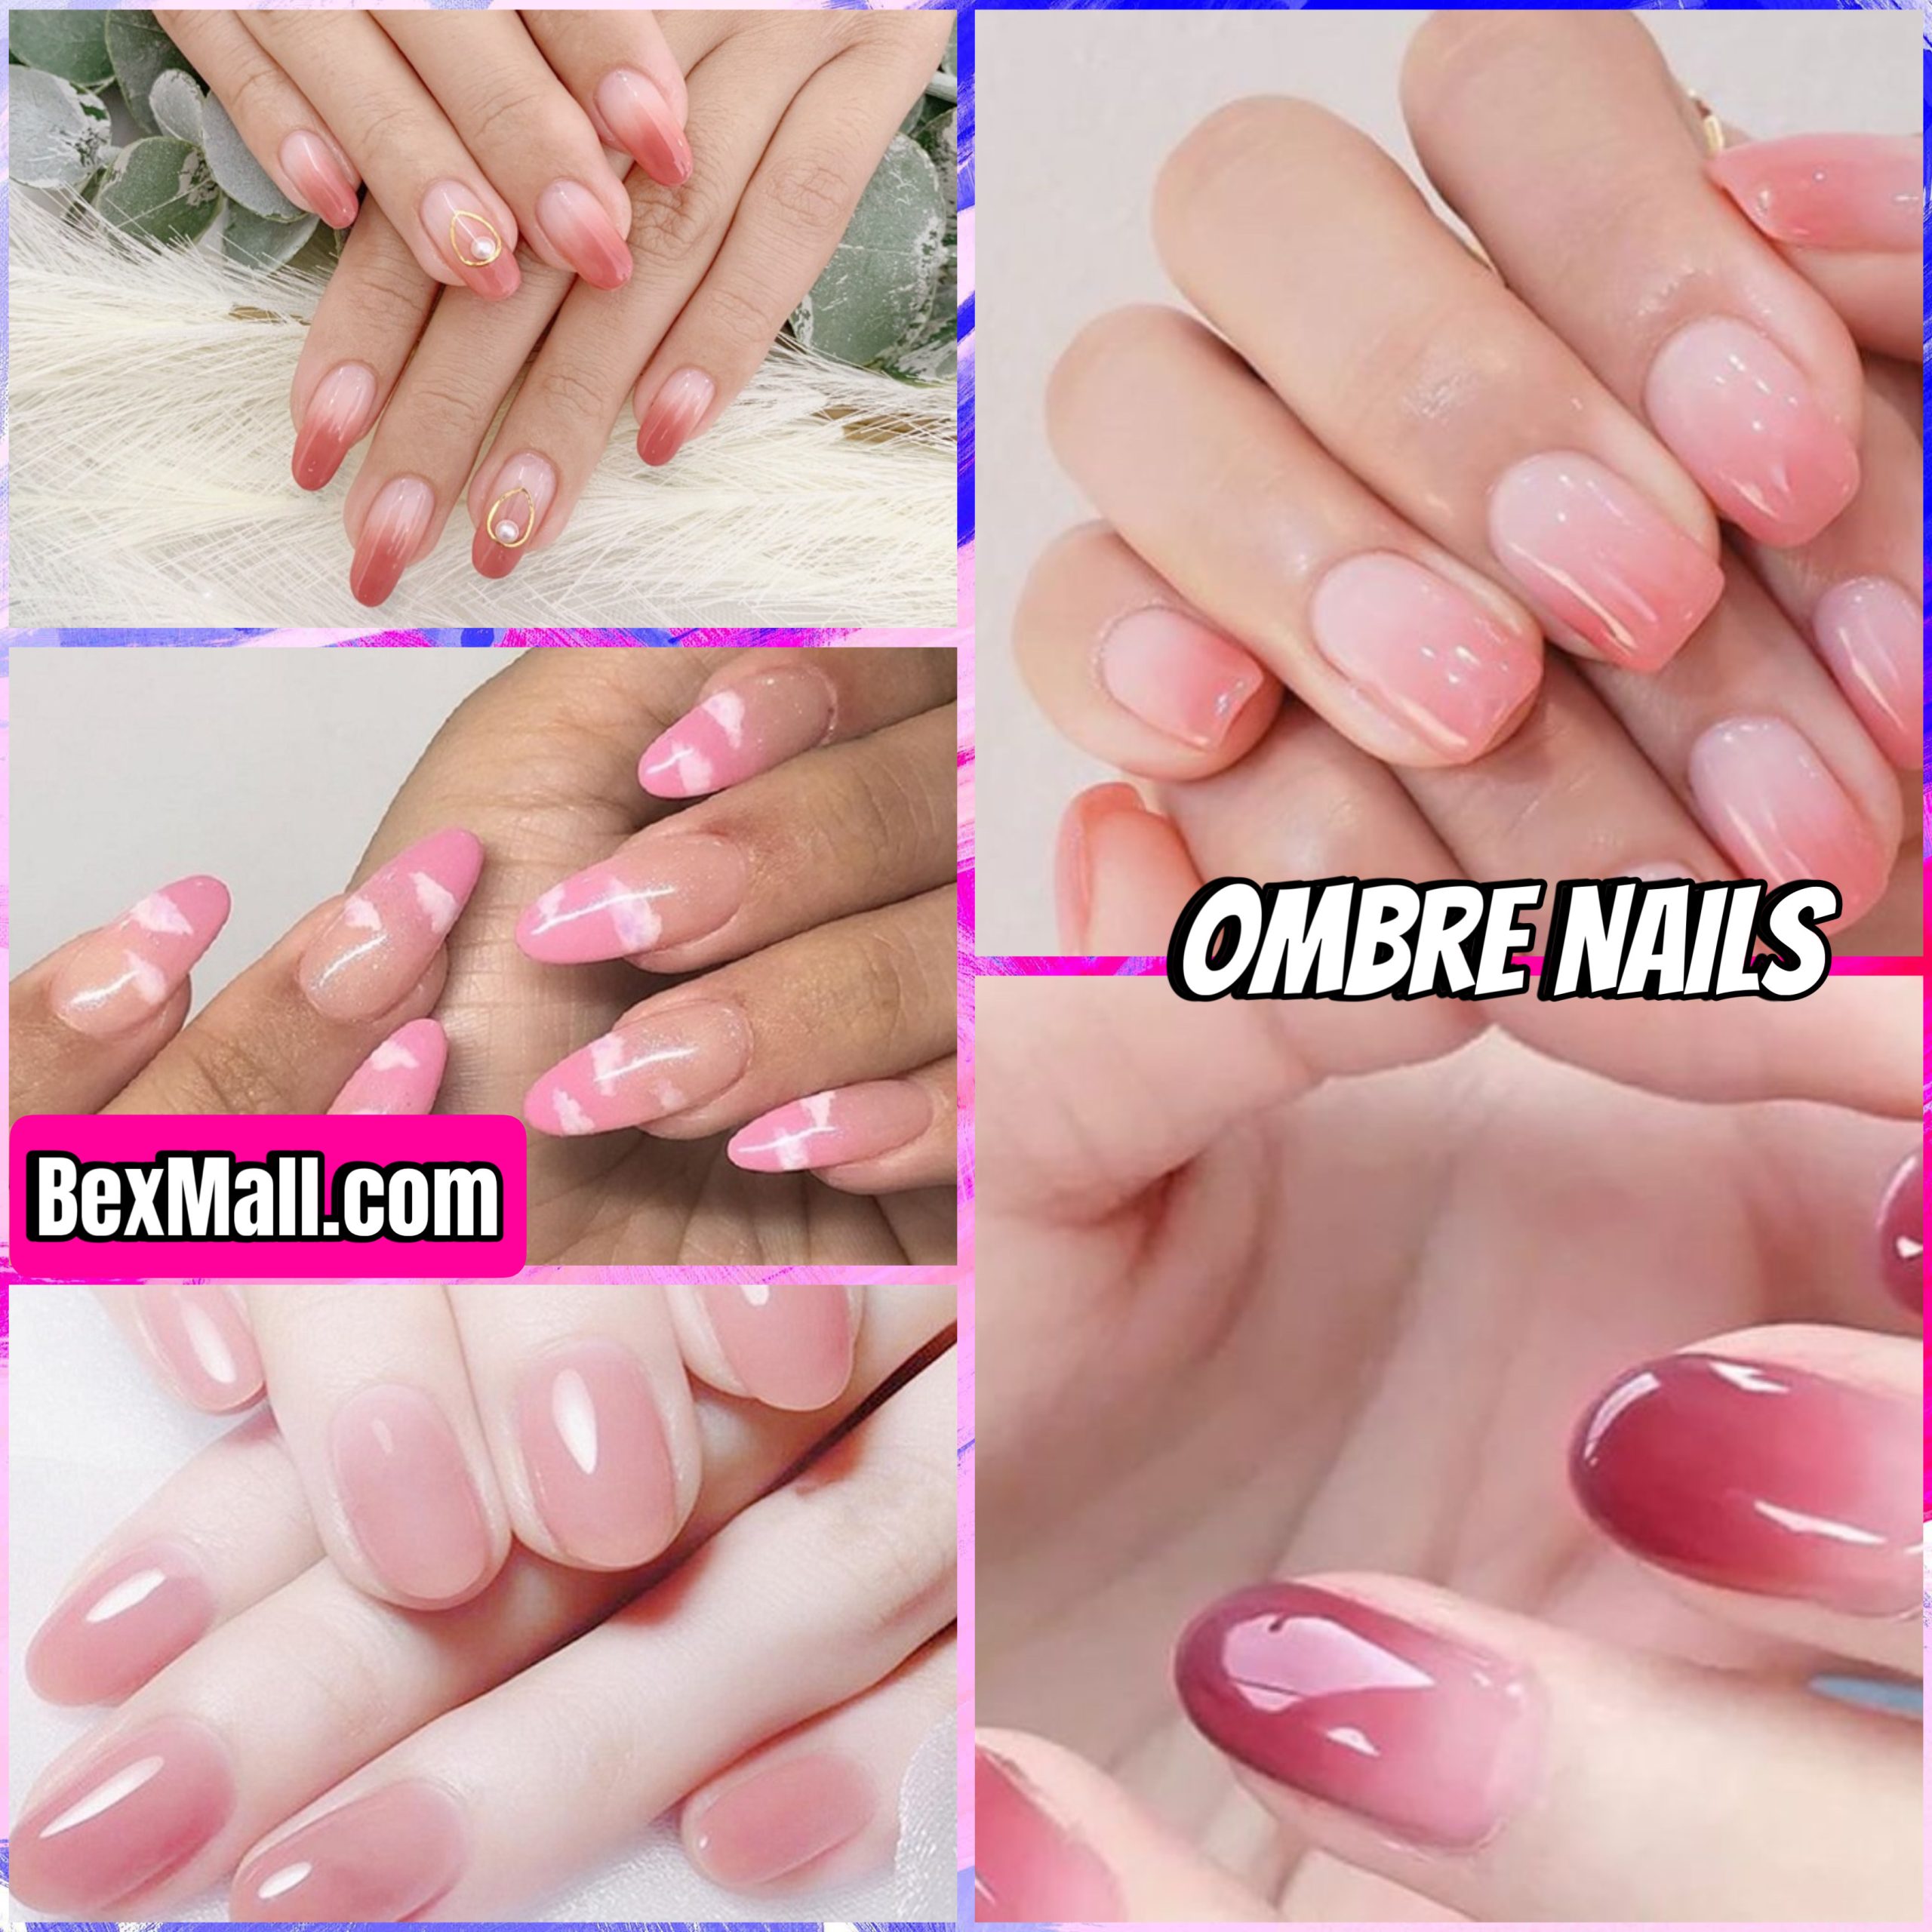
ป้ายกำกับ: Ombre Nail Styles
Ombre Nail Styles: The Ultimate Guide to Trendy Gradient Designs
Have you ever seen a nail design that looks like a beautiful sunset? Or a smooth transition from one color to another? That’s the magic of ombre nail styles! These mesmerizing designs are all the rage right now, and they’re perfect for adding a touch of elegance and creativity to your look. But with so many different ways to do ombre, you might be wondering where to even begin. Don’t worry, we’ve got you covered!
This guide will walk you through everything you need to know about ombre nail styles. From understanding the basics to exploring different techniques and color combinations, we’ll equip you with the knowledge to create your own stunning ombre masterpieces.
What are Ombre Nail Styles?
Ombre nail styles are a type of nail art that involves a gradual blending of two or more colors, creating a seamless transition from one shade to another. It’s like painting a watercolor, but on your nails! The result is a unique and eye-catching look that can be tailored to any occasion.
Why Are Ombre Nails So Popular?
Ombre nails have become a popular choice for a few reasons:
- Versatility: Ombre designs can be adapted to suit any taste and style. Whether you prefer soft and subtle gradients or bold and dramatic transitions, there’s an ombre look for everyone.
- Trendiness: Ombre nails are constantly evolving, with new techniques and color combinations emerging all the time. This keeps the style fresh and exciting.
- Elegance: Ombre nails have a touch of sophistication that makes them perfect for special occasions, like weddings or parties.
- Easy to Customize: You can personalize ombre nail designs by using different color combinations, textures, and embellishments.
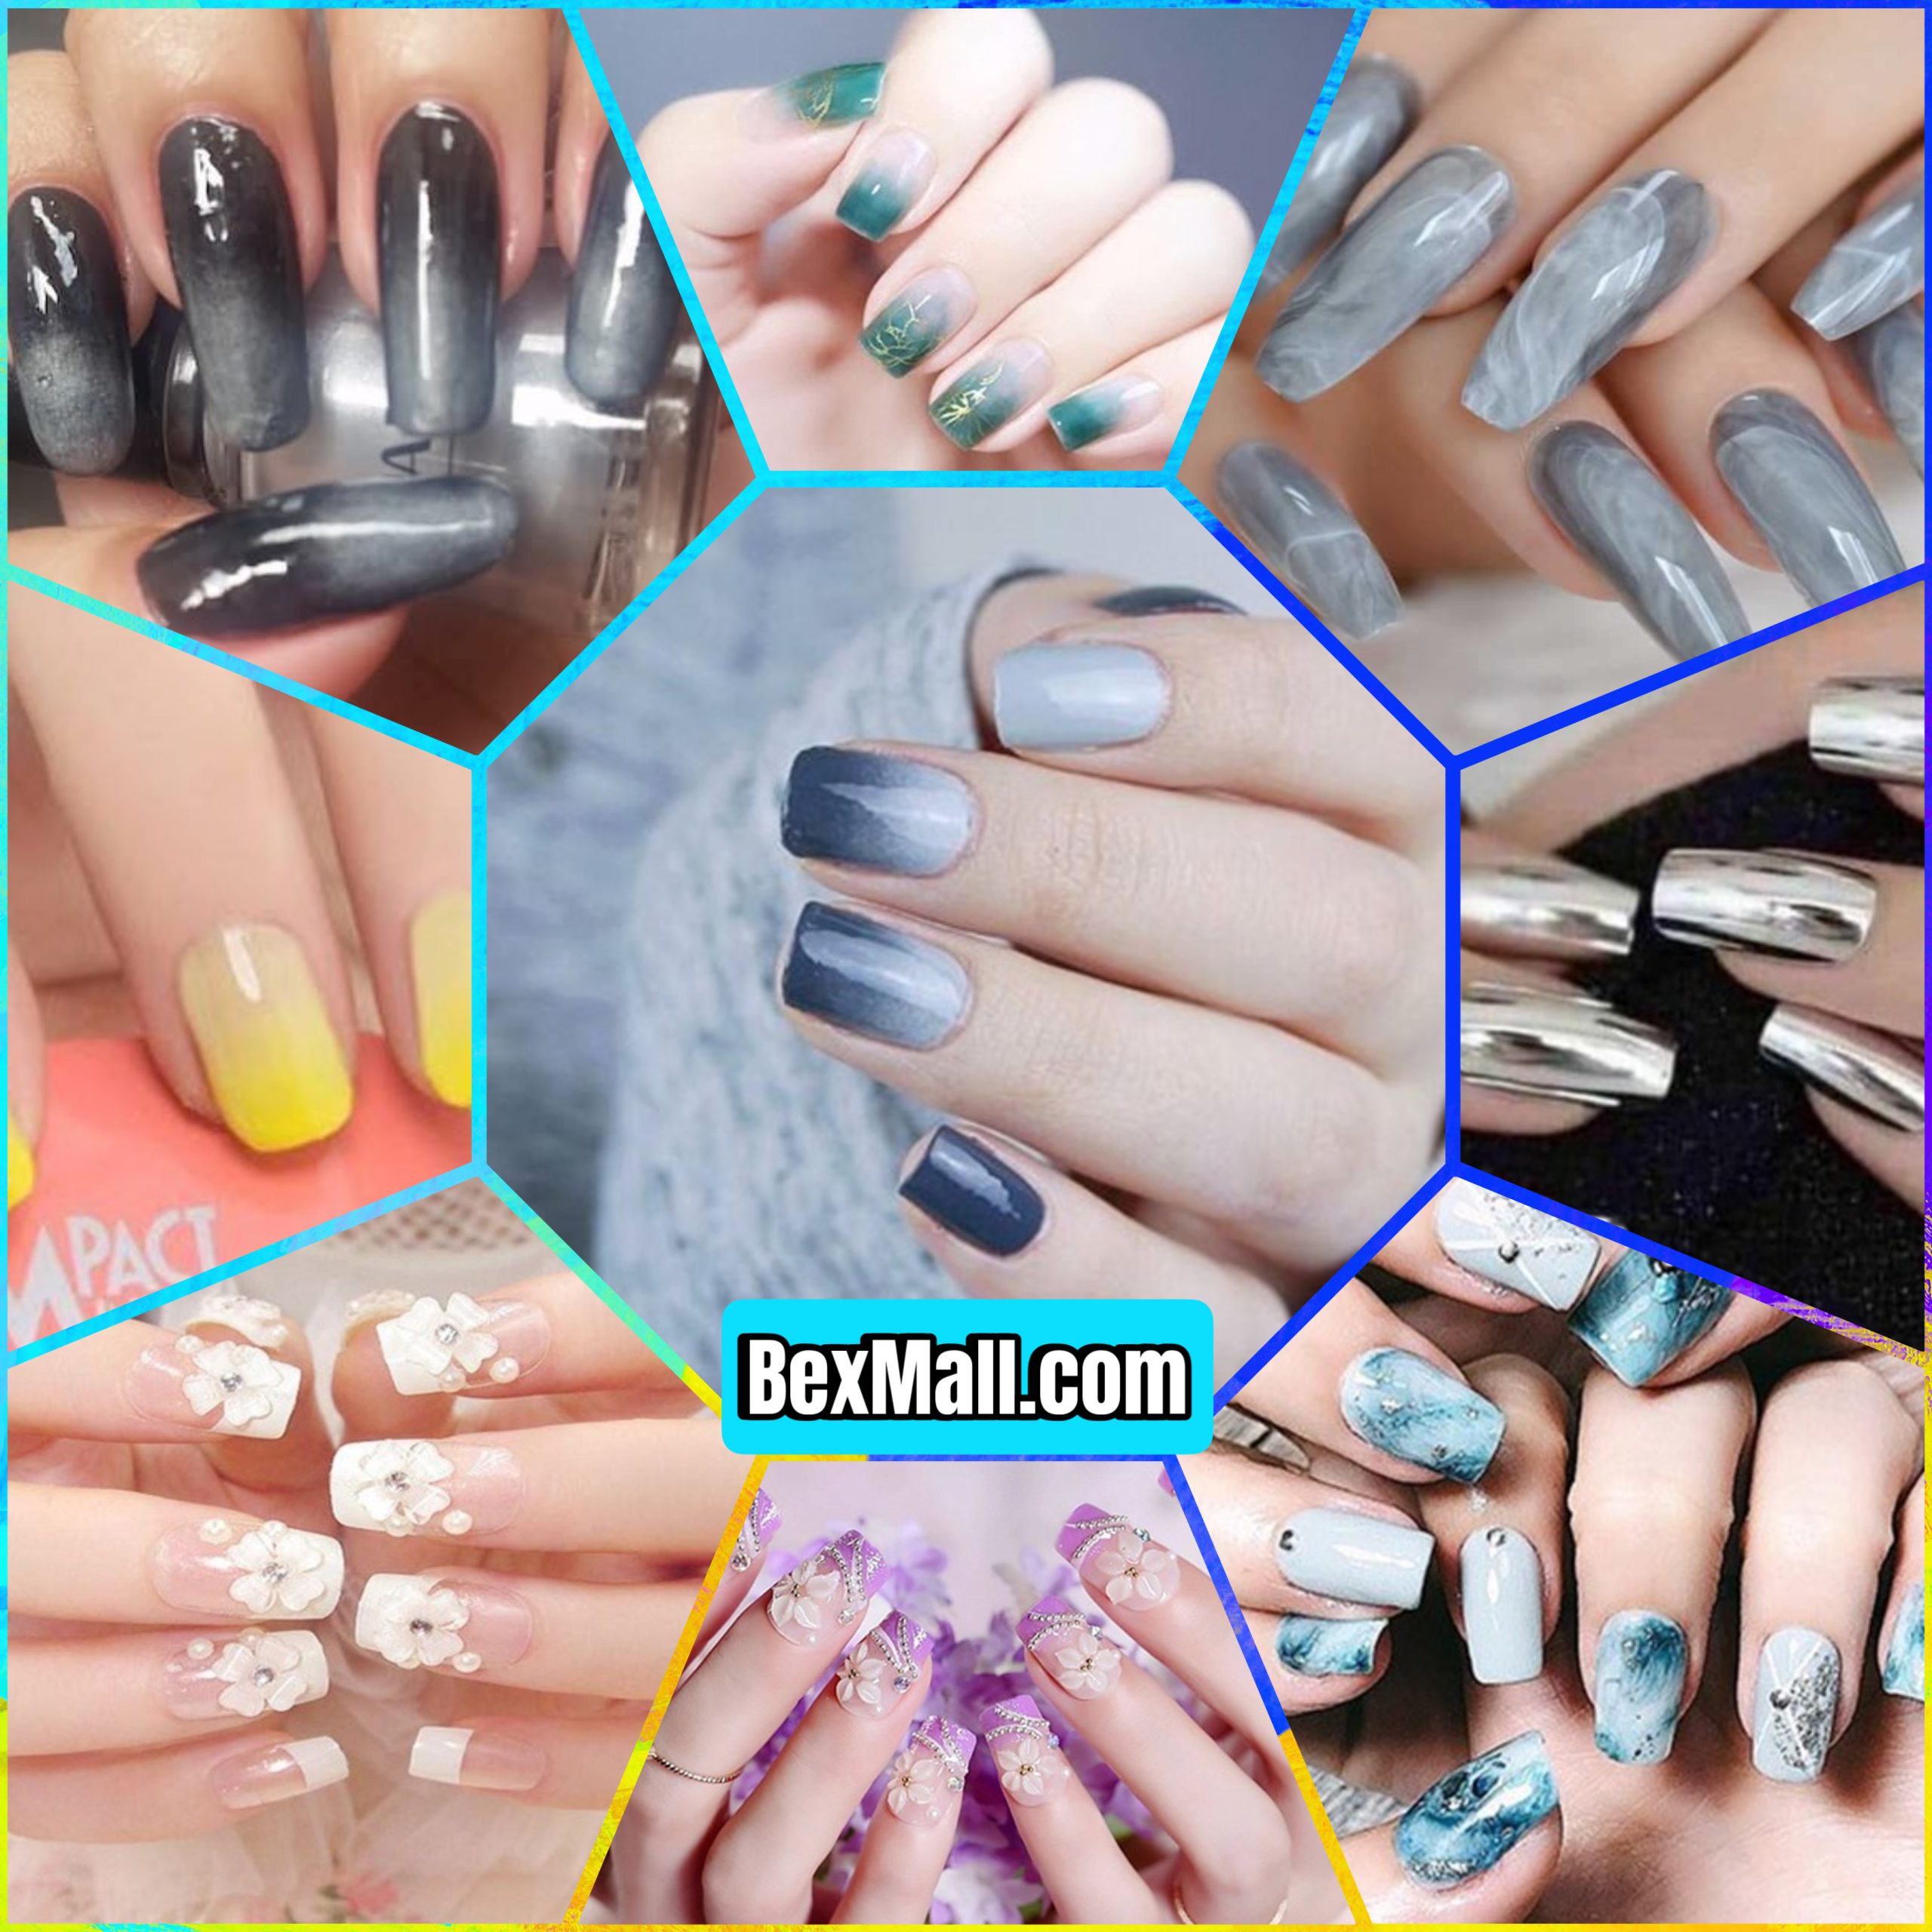
Different Types of Ombre Nail Styles
There are many different ways to create ombre nail styles, each with its own unique look. Here are some of the most popular techniques:
1. Classic Ombre: This is the most basic and traditional ombre style, where two colors are blended smoothly from one end of the nail to the other. You can use a sponge to achieve this effect or apply the colors directly with a brush.
2. Reverse Ombre: In this variation, the darker color is applied to the tip of the nail and the lighter color at the base. This creates a more dramatic look and is a great way to highlight the tips of your nails.
3. Vertical Ombre: Instead of blending the colors horizontally, you can create a vertical ombre effect. This looks particularly stunning on long nails and creates a striking visual impact.
4. Half-Moon Ombre: This style features a half-moon shape at the base of the nail that is painted in a contrasting color, while the rest of the nail is ombré. This creates a unique and modern look.
5. Glitter Ombre: For a glamorous touch, you can incorporate glitter into your ombre design. This can be done by blending glitter into the ombre colors or by adding a layer of glitter on top of the ombre design.
Choosing the Right Colors
The beauty of ombre nail styles lies in the endless possibilities of color combinations. Here are some tips for choosing the perfect colors for your ombre design:
- Consider Your Skin Tone: Warm skin tones look great with shades of peach, coral, and gold, while cool skin tones can rock blues, purples, and greens.
- Think about the Occasion: Bright and vibrant colors are perfect for summer, while more muted and sophisticated shades are great for fall and winter.
- Don’t be Afraid to Experiment: Try out different color combinations to see what works best for you!
How to Create Ombre Nail Styles at Home
You don’t need to be a professional to create stunning ombre nail designs! Here’s a step-by-step guide:
- Prepare Your Nails: Start by cleaning and shaping your nails. Apply a base coat to protect your nails and ensure a smooth surface for the polish.
- Choose Your Colors: Select two or more colors that complement each other and create the desired ombre effect.
- Apply the Base Color: Paint your nails with the lighter color.
- Create the Ombre Effect: There are different techniques you can use to create the ombre effect. You can use a sponge, a brush, or even a makeup blending sponge. For a sponge method, apply the darker color to the sponge and gently dab it onto the tip of your nail, blending upward. If using a brush, apply the darker color at the tip and gradually blend it towards the base, using lighter strokes as you move up.
- Add a Top Coat: Once the ombre effect is complete, apply a top coat to seal the design and add shine.
Tips for Perfect Ombre Nails
- Practice Makes Perfect: Don’t be discouraged if your first attempts don’t turn out perfectly. The key is to practice and experiment with different techniques.
- Use Thin Coats: Apply thin coats of polish to avoid smudging and unevenness.
- Clean Up Any Mistakes: Use a Q-tip and nail polish remover to clean up any mistakes along the edges.
- Let Each Coat Dry Completely: Allow each coat of polish to dry completely before applying the next one.
Ombre Nail Styles: A Trend for Everyone
Ombre nail styles are a fun and versatile way to express your creativity and elevate your style. With endless possibilities for customization, you can find an ombre look that perfectly complements your personality and mood.
Remember: Ombre nails are not just about creating a gradient effect; they’re about letting your imagination run wild. So, experiment, have fun, and embrace the beauty of ombre nail styles!
Secondary Keywords: Ombre Nail Art, Gradient Nail Designs, Nail Color Trends, Ombre Nail Tutorials, DIY Ombre Nails