ป้ายกำกับ: Ombre Nail Techniques
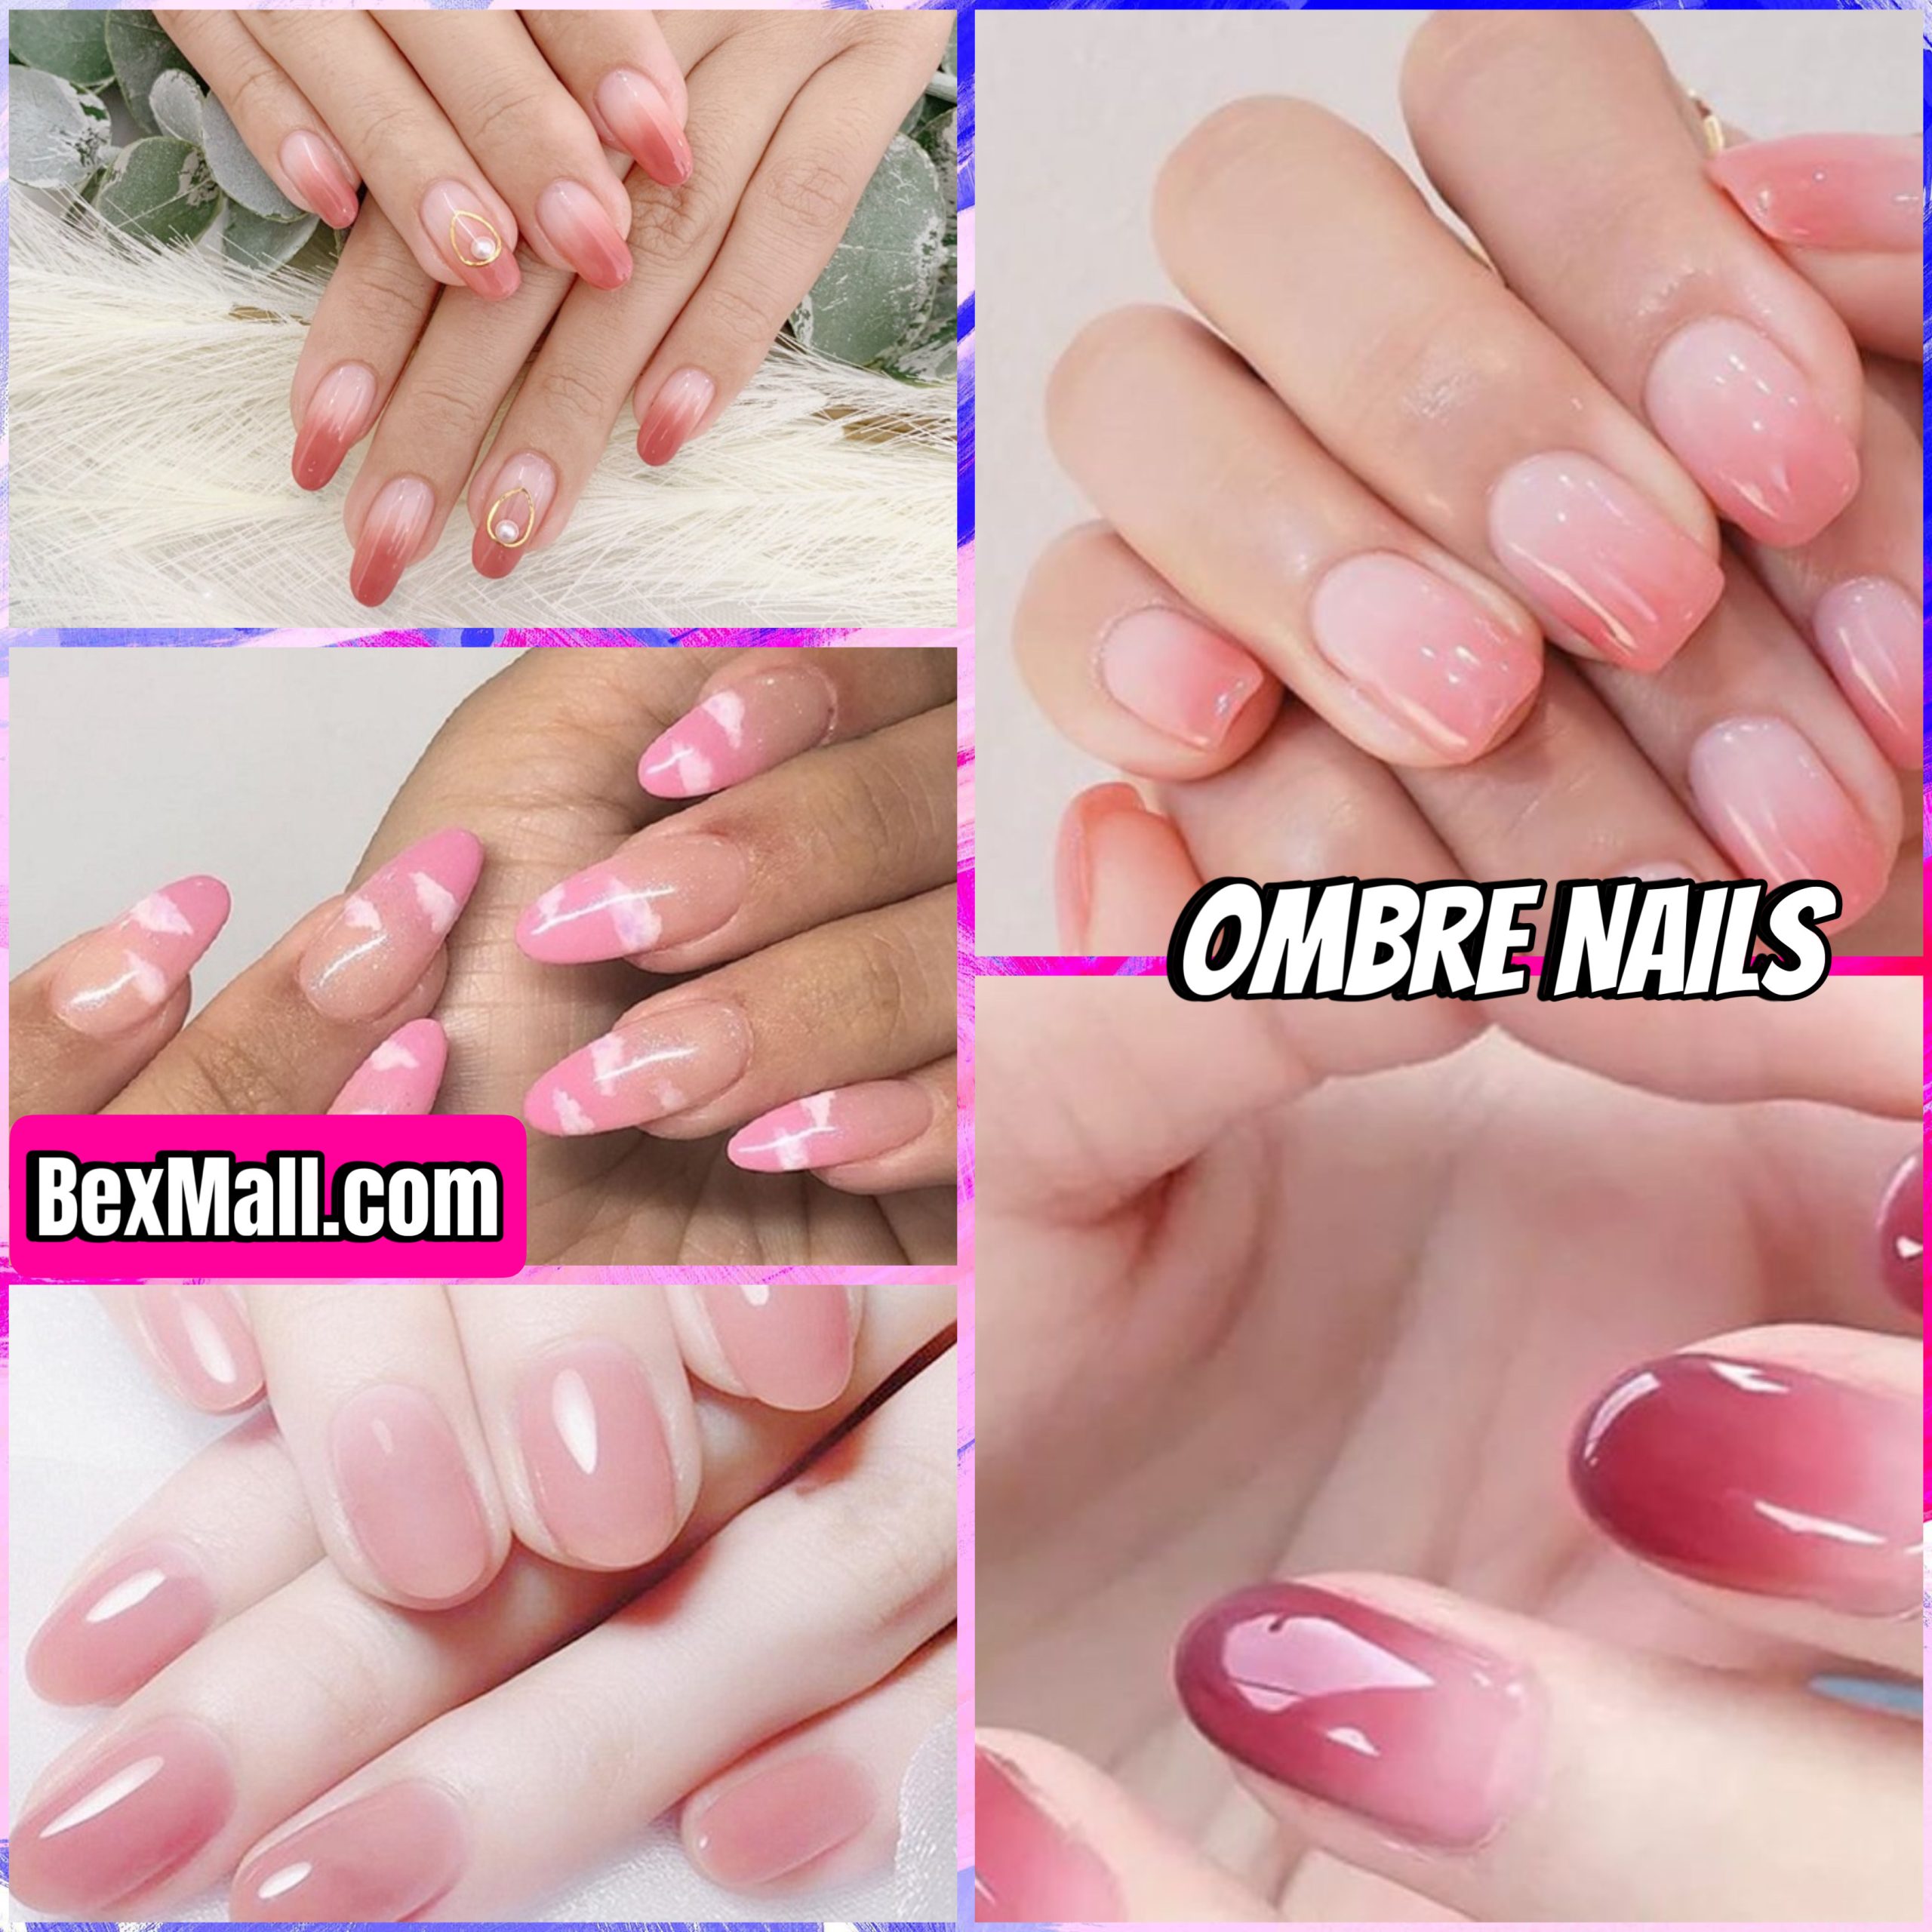
Master the Art of Ombre Nails: A Step-by-Step Guide to Stunning Gradient Designs
Have you ever looked at an ombre nail design and thought, “How do they even do that?” You’re not alone. Ombre nails, with their smooth transitions of color, are like a magical, shimmery illusion on your fingertips. But don’t let the beauty fool you – mastering ombre nail techniques isn’t as complicated as it seems. This guide will break down everything you need to know, from choosing the right tools to perfecting the gradient effect. So grab your favorite colors and let’s get started!
Understanding the Basics of Ombre Nail Techniques
Ombre nails are all about creating a gradual blend of colors, like a beautiful sunset on your fingertips. The technique involves using two or more shades of polish and blending them seamlessly together to achieve a smooth, gradient effect.
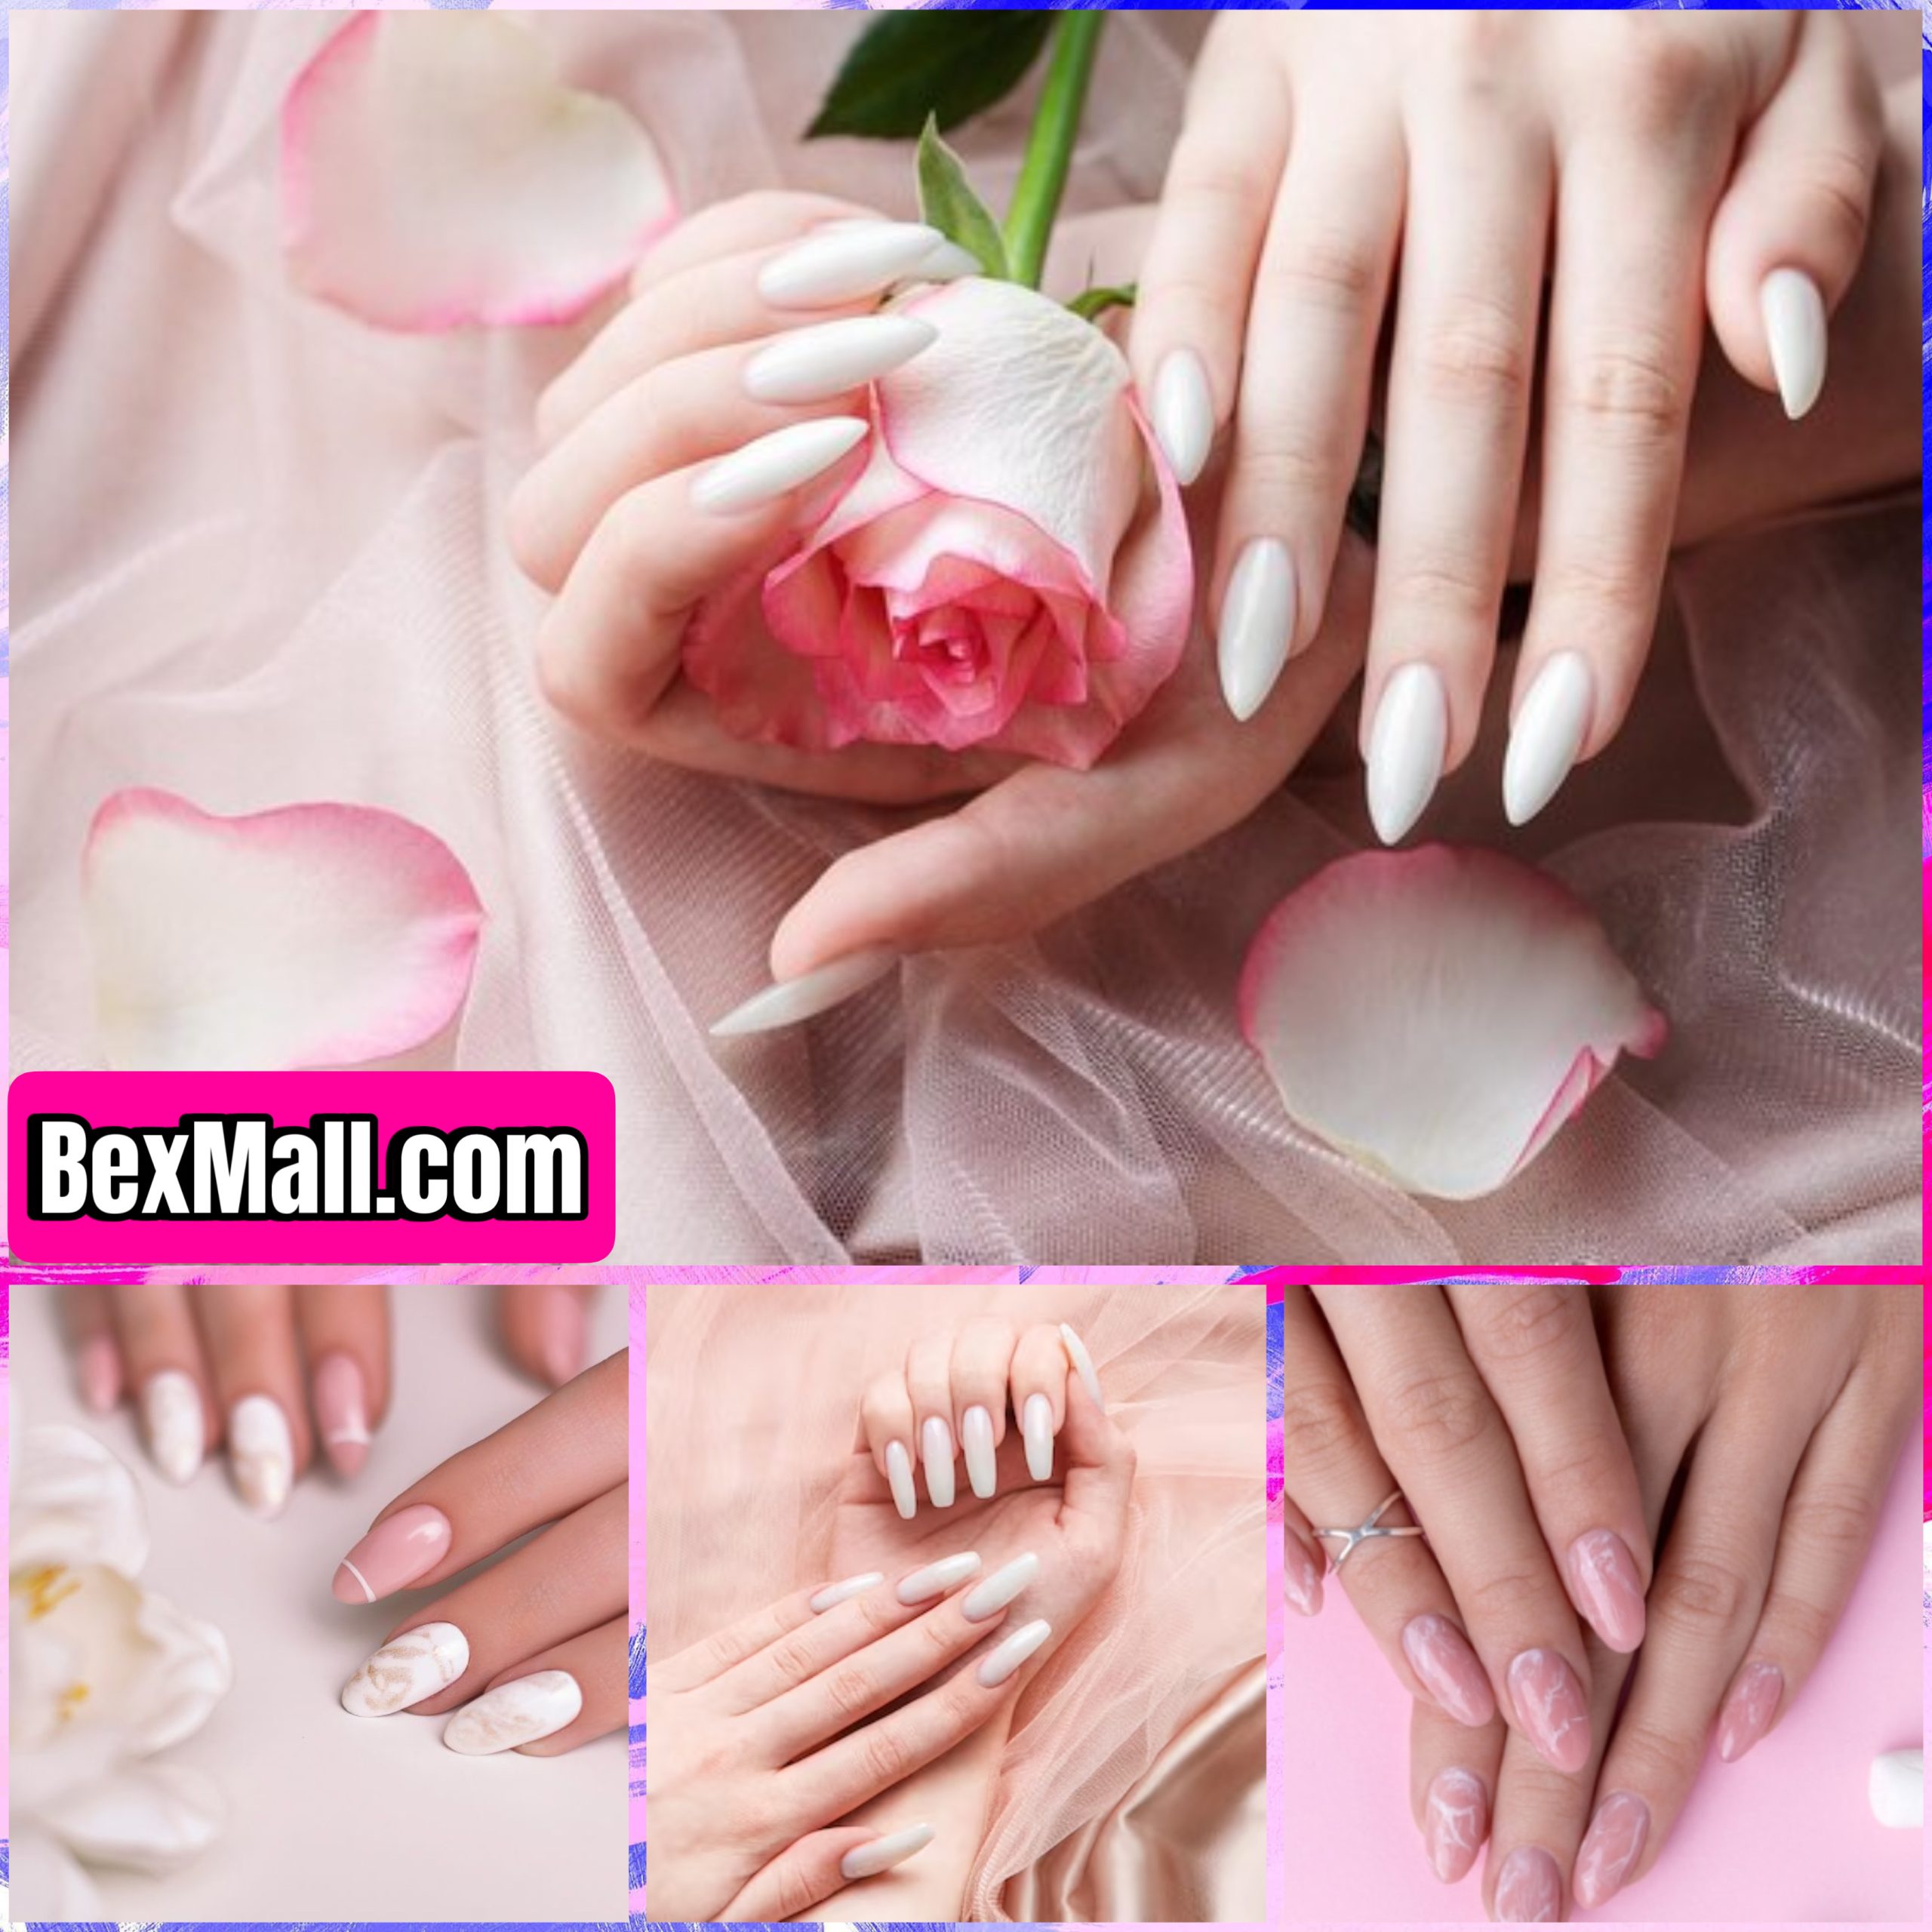
Here’s the beauty of ombre nails: they offer a world of possibilities. You can experiment with different color combinations, nail shapes, and even add glitter, shimmer, or other nail art details to create a look that’s completely your own.
Essential Tools for Ombre Nail Success
Before you dive into the world of ombre nail designs, make sure you have the right tools to create a flawless finish.
- Base Coat: This creates a smooth base for your polish and helps prevent staining.
- Nail Polish: Choose colors that complement each other and create a smooth transition.
- Sponge: This is the key to achieving that gradient effect. Use a makeup sponge or a special sponge designed for nail art.
- Top Coat: This seals in the color and protects your manicure for a longer time.
Step-by-Step Guide: Achieving the Perfect Ombre Gradient
1. Prepare Your Nails: Start by cleaning your nails and applying a base coat. This step protects your nails and creates a smooth surface for the polish.
2. Choose Your Colors: Decide on the colors you want to use. Consider complementary shades for a classic look or experiment with contrasting colors for a bolder effect.
3. Create a Gradient on the Sponge: Apply a thin line of your darkest color to one edge of the sponge. Next, apply a thin line of your lightest color to the opposite edge of the sponge. Then, blend the colors gently by dabbing the sponge on a piece of paper to create a smooth transition.
4. Apply the Gradient to your Nails: Gently press the sponge onto your nail, starting at the base and moving towards the tip. Repeat this process several times to build up color and create a smooth gradient effect.
5. Clean Up Any Messes: If you get any polish on your skin, use a Q-tip and acetone to clean it up.
6. Seal It In: Once the polish is dry, apply a top coat to seal in the color and protect your manicure.
Tips for Success with Ombre Nail Techniques
- Start with Thin Coats: Apply thin coats of polish to avoid streaks and ensure a smooth gradient effect.
- Use a Firm Sponge: A firm sponge will help to create a cleaner and more defined gradient.
- Don’t Be Afraid to Experiment: Play around with different color combinations and sponge techniques to discover your unique ombre style.
Beyond the Basics: Ombre Nail Variations
The possibilities with ombre nail designs are endless! Here are a few creative ideas to inspire you:
- Reverse Ombre: Apply the darker color to the tip of the nail and blend upwards, creating a reverse ombre effect.
- Horizontal Ombre: Create a horizontal gradient across your nail instead of a vertical one.
- Glitter Ombre: Add glitter to your colors for a sparkly ombre look.
- Metallic Ombre: Use metallic polishes to create a glamorous ombre effect.
- Color-Blocking Ombre: Divide your nail into sections and create an ombre effect with different colors in each section.
The Final Touch: Enhancing Your Ombre Masterpiece
Adding a little extra detail can elevate your ombre nails to the next level. Consider these finishing touches:
- Nail Art Stickers: Add delicate designs or sparkling accents to your ombre nails.
- Rhinestones: Place strategically placed rhinestones for a touch of glamor.
- Glitter: Sprinkle glitter over your ombre nails for a fun and festive look.
Ombre Nails: A Creative Canvas for Your Style
Whether you’re a seasoned nail art enthusiast or just starting out, ombre nail techniques are a fun and easy way to express your personal style. With a little practice and experimentation, you’ll be creating beautiful, gradient designs that will turn heads everywhere you go.
So what are you waiting for? Grab your polish, sponge, and a little creativity, and let your ombre nail journey begin!
Secondary Keywords: ombre nail art, nail gradient techniques, gradient nail designs, peach ombre nails, nail color blending.